

Proxy settings in BAS
What is BAS (Browser Automation Studio)? It is powerful software for automating actions in a web browser. This tool allows you to create scripts and macros to perform repetitive tasks on the Internet without direct user intervention. BAS provides extensive capabilities for automating web processes, including form filling, data scraping, automatic site navigation, and much more.
The importance of using a proxy in BAS for effective automation is a critical aspect when working with this tool. Proxy servers ensure privacy and security, and allow working with content from various regions, which significantly expands automation possibilities. Furthermore, using different proxies allows for load balancing across multiple IP addresses, increasing connection stability and script reliability. Correct proxy configuration in BAS significantly increases the efficiency of automated processes and helps optimize interaction with external web resources.
In this guide, you will learn everything you need for optimal proxy setup in BAS — this will ensure maximum performance and security for your automated processes. The instructions are provided in English, as it is the most common interface language of the program. If necessary, you can change the language in the settings.
Obtaining Connection Data for Proxies on App CyberYozh
On the website, choose the proxy type that suits you, considering the following parameters:
• Proxy type: mobile or residential
• IP type: static or dynamic
• Geolocation: select a country or region
• Provider: ensure it meets your requirements
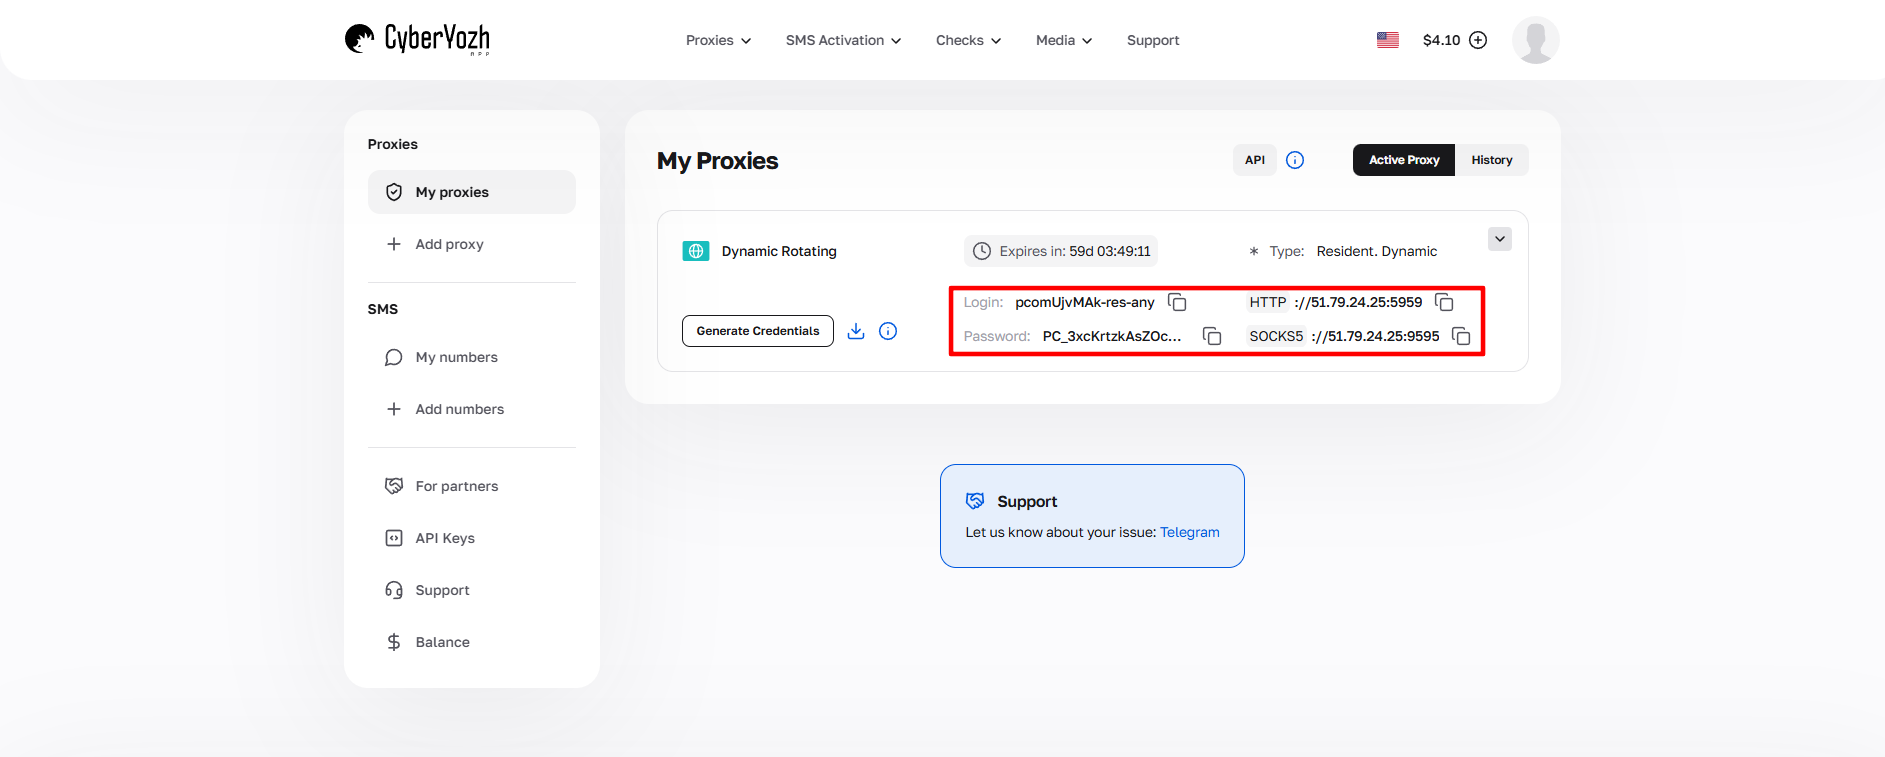
Fig. 1. Screenshot of the CyberYozh platform interface, demonstrating the location of proxy connection data. The image displays fields for IP address (Host), port (Port), username (Proxy Username), and password (Proxy Password).
After purchasing a proxy, you will receive the connection information:
- Host: Proxy IP address
- Port: Proxy port
- Proxy Username: Login
- Proxy Password: Password
Proxy example:
- Host: 172.98.60.180
- Port: 58763
- Login: 7XbvvWautzmOZMA
- Password: xdtAof3xB7RSmUr
To effectively connect a proxy to Browser Automation Studio (BAS), you must follow a specific sequence of actions to ensure the correct operation of your proxy connection. Below is a detailed step-by-step instruction, following which you can quickly and easily set up proxy usage in your automation project:
Open the BAS Browser module.
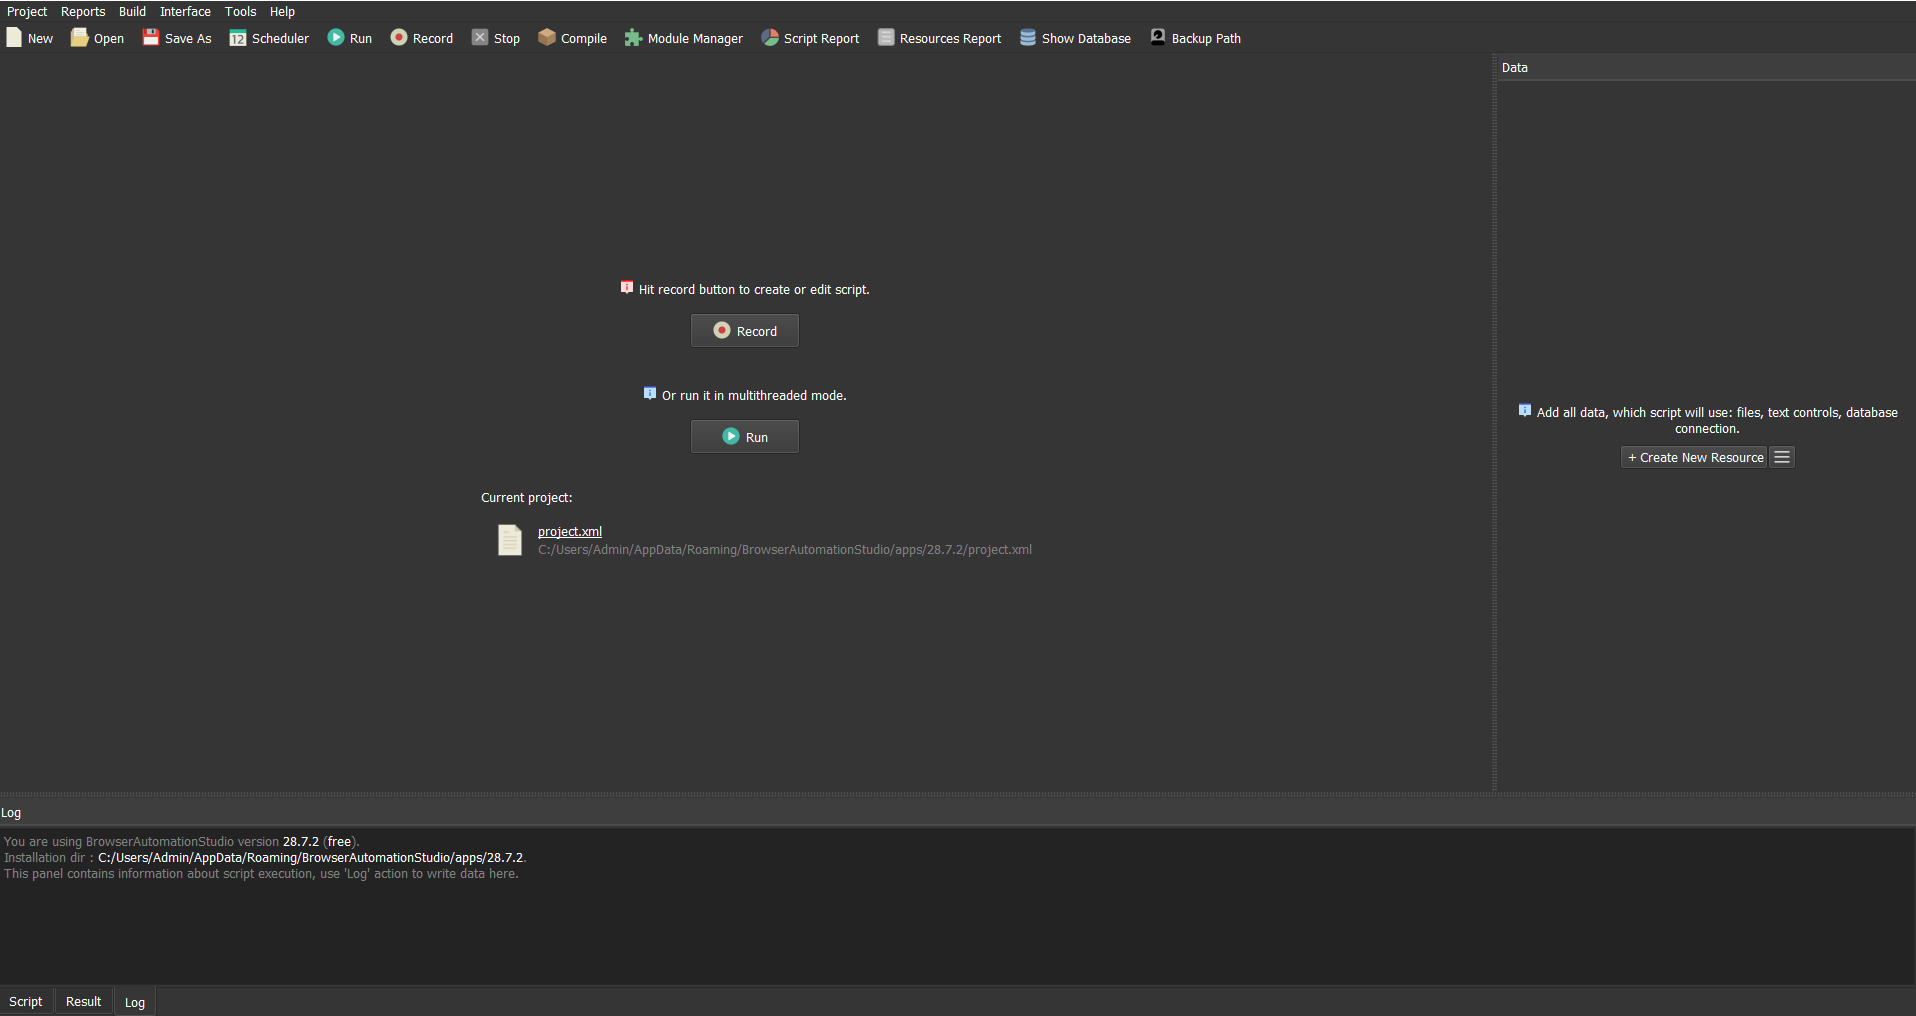
Fig. 2. BAS Browser module interface. The image demonstrates the Browser Automation Studio control panel with the main web content display window and navigation elements.
Go to the "Browser" tab.
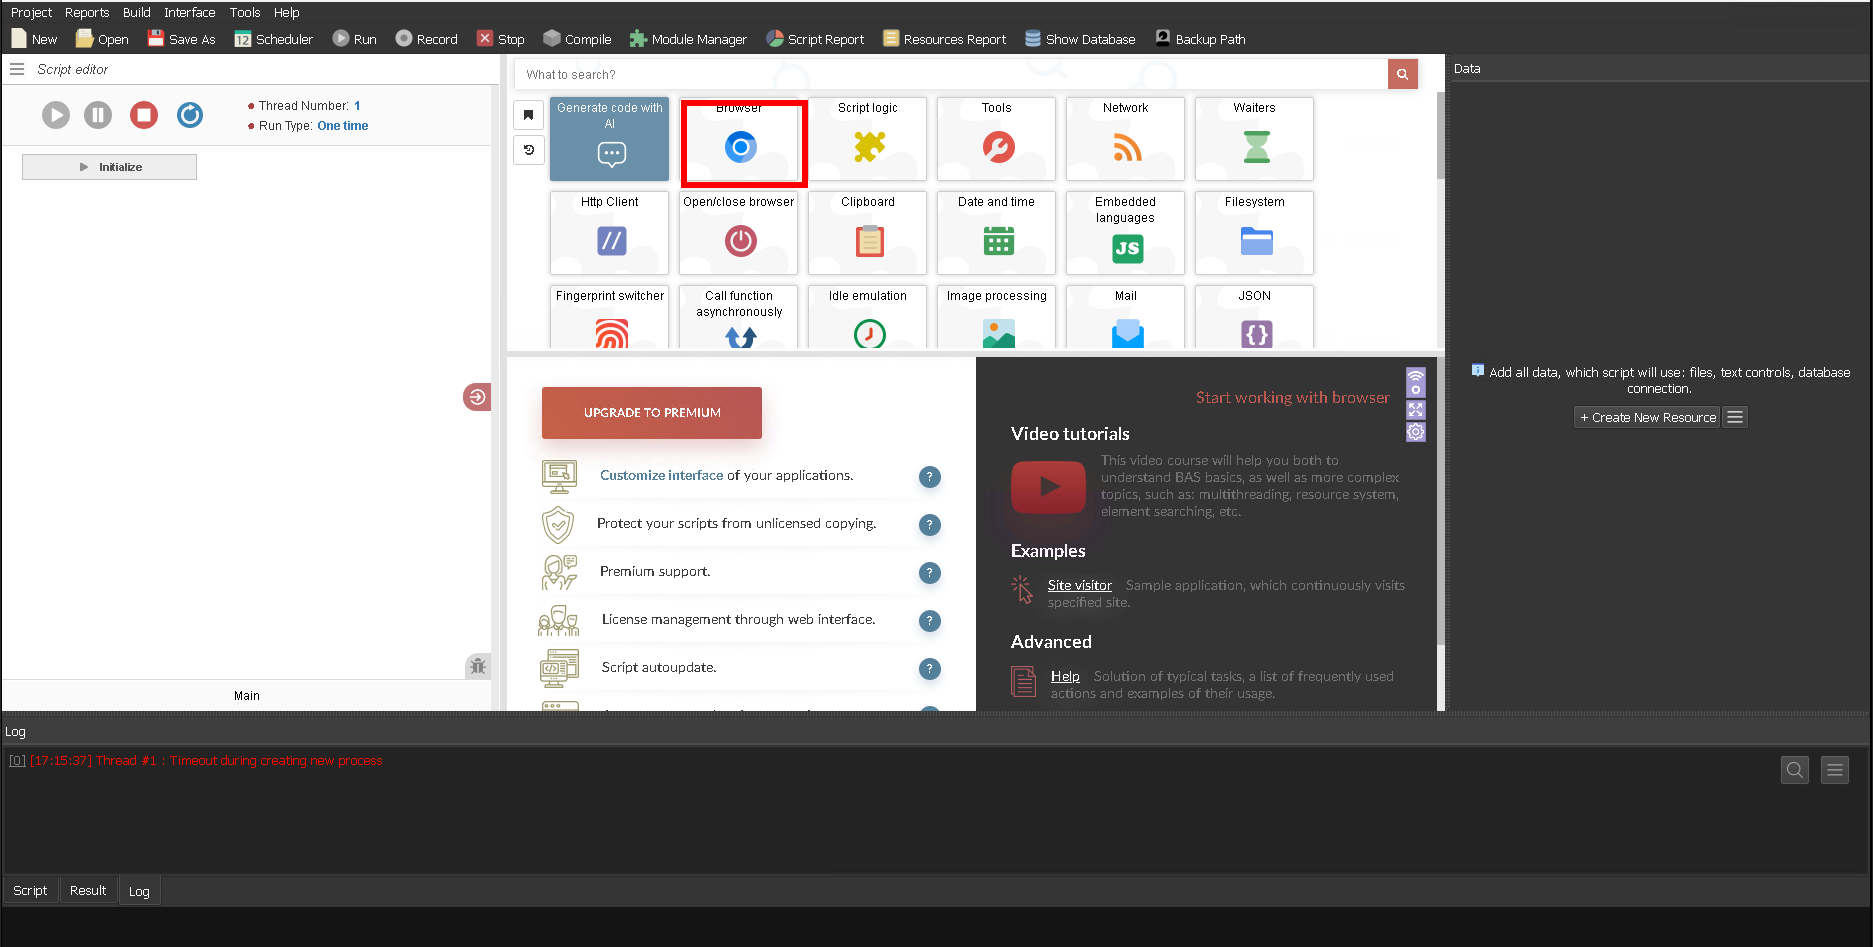
Fig. 3. Graphical interface of the Browser Automation Studio control panel, showing the "Browser" tab in an active state.
Go to the "Proxy" tab.
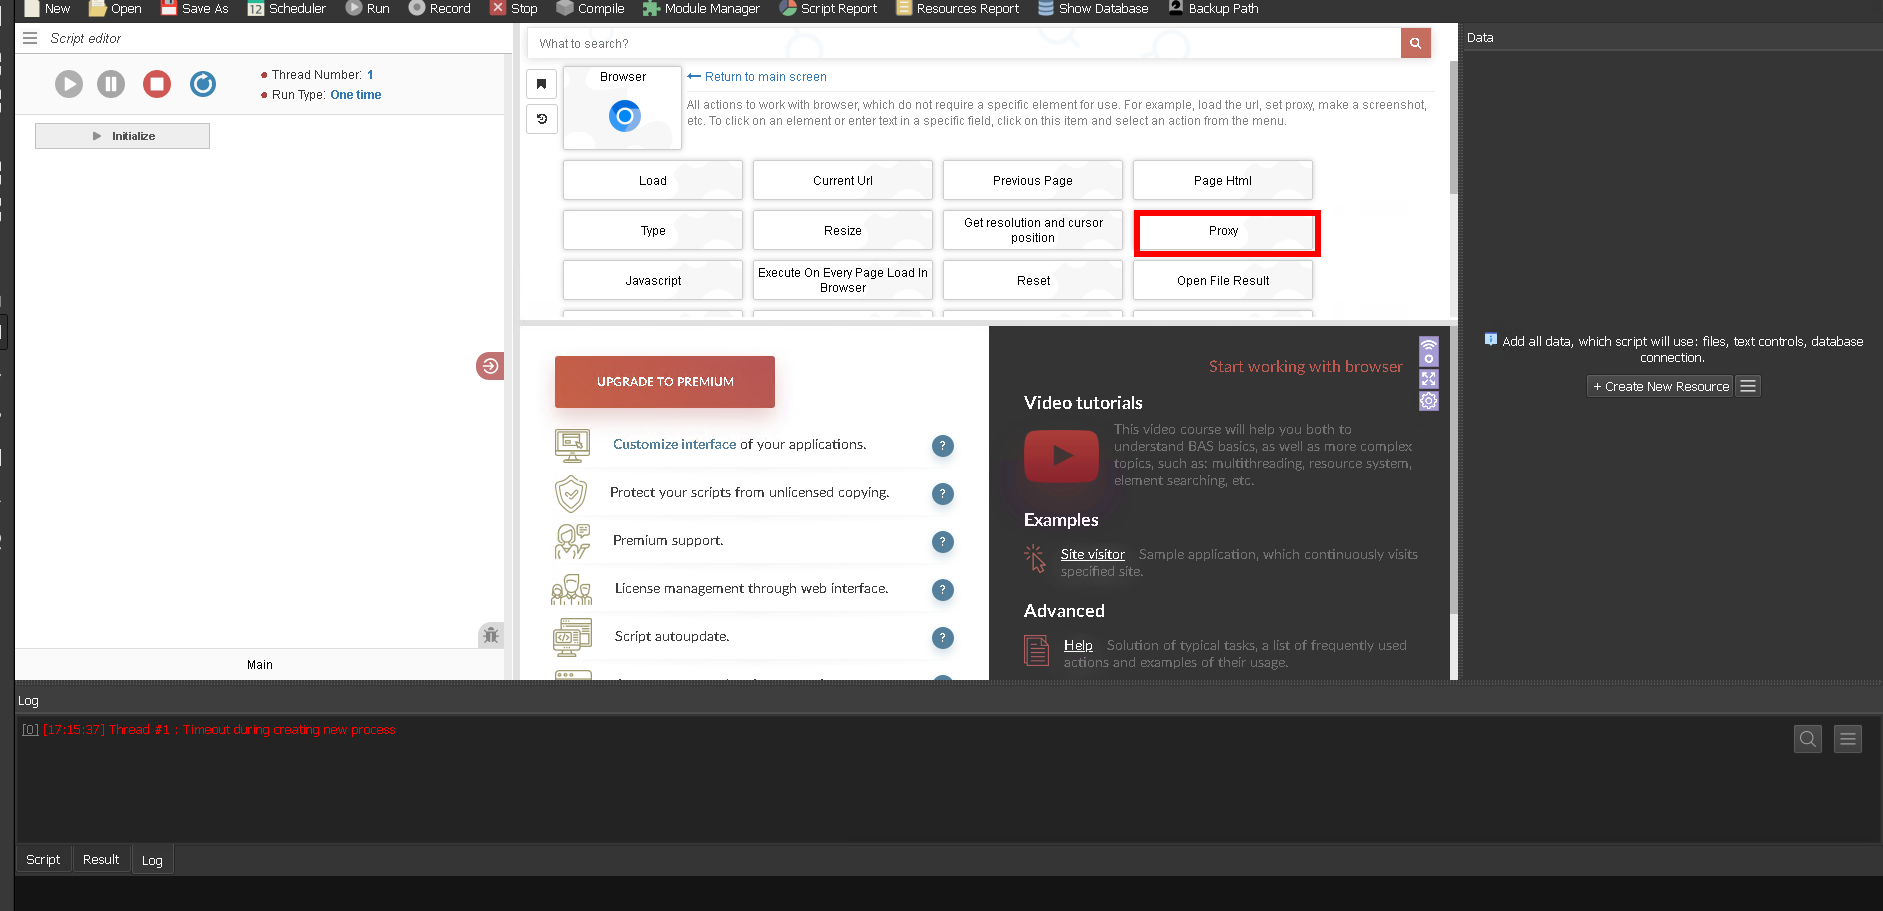
Fig. 4. Graphical interface for proxy server configuration in Browser Automation Studio (BAS). The image shows the settings panel with the "Proxy" tab activated, demonstrating control elements for proxy connection integration.
In the window that appears, specify:
- IP address or host
- Port
- Login and password
For example:
- Host: 51.79.24.25
- Port: 9595
- Username: pcomUjvMAk-res-any
- Password: xdtAof3xB7RSmUr
Your settings should look like this:
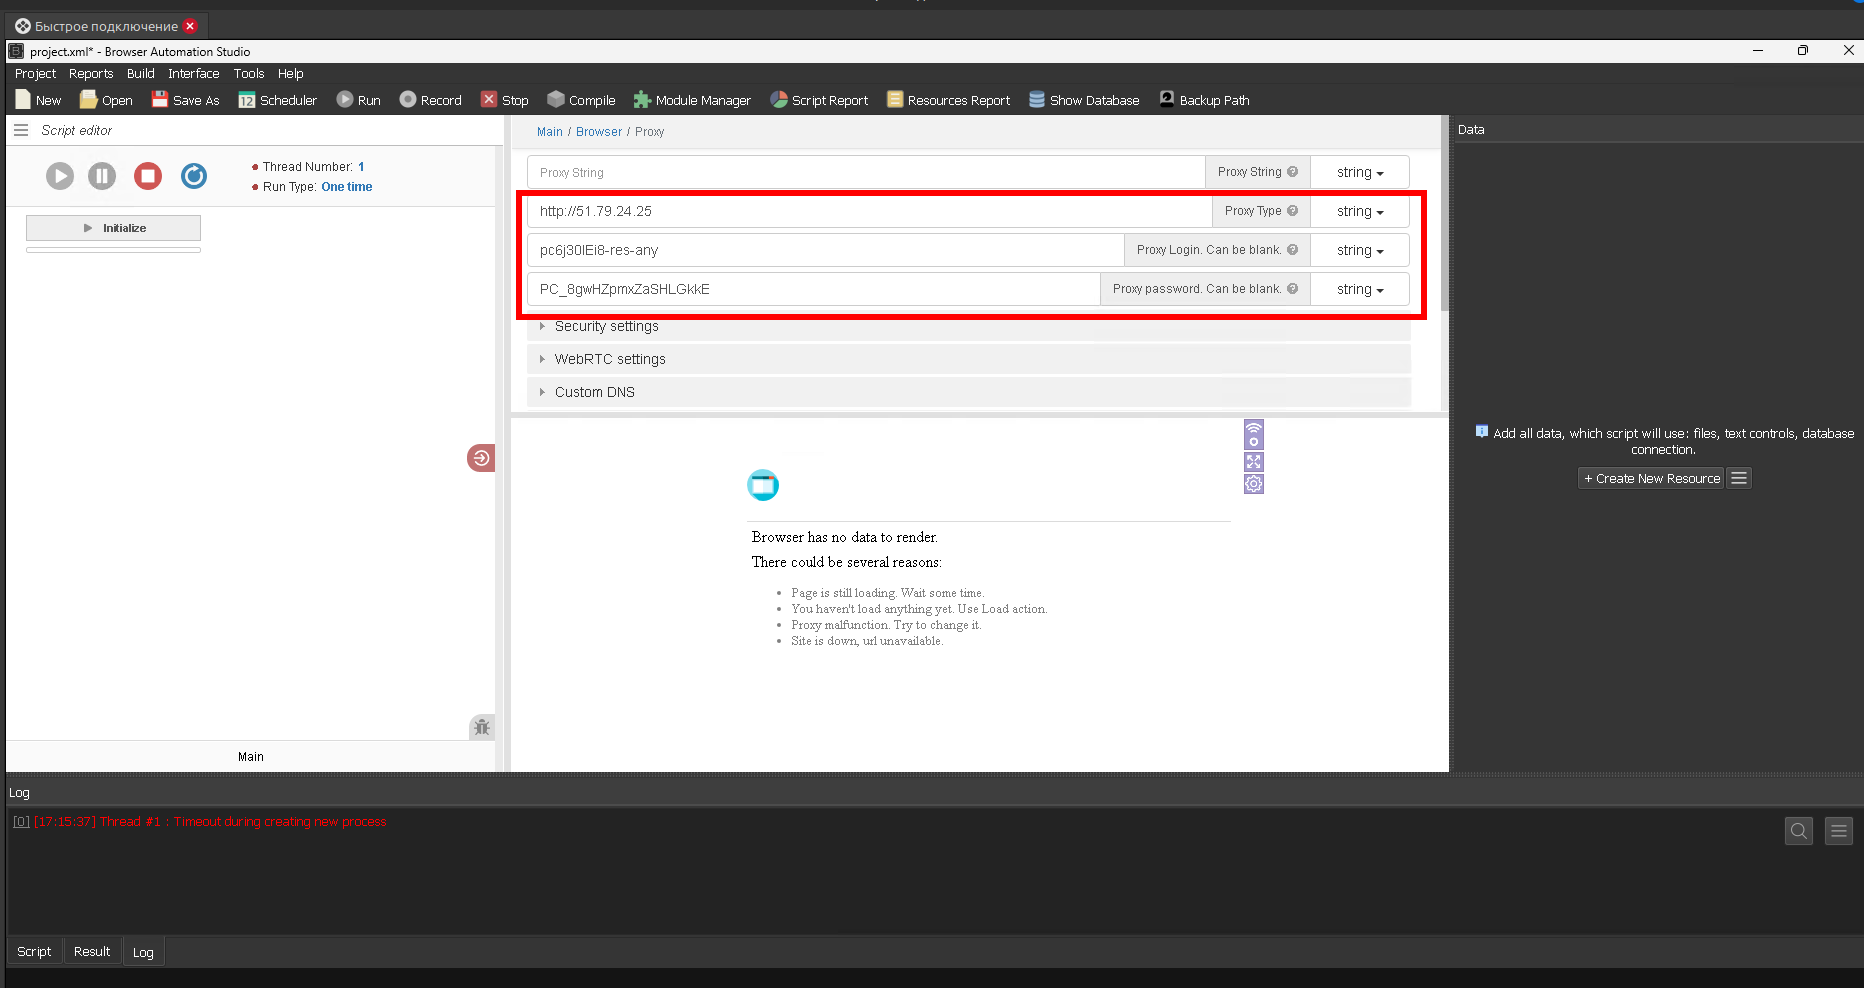
Fig. 5. Graphical interface of the proxy server settings panel in Browser Automation Studio with filled configuration fields. The image demonstrates the proxy connection setup dialog box with specified authentication parameters: IP address (Host), port (Port), username (Username), and password (Password).
In the "Security setting" section, it is recommended to activate the "Change geolocation" option by setting the value to "True". This configuration ensures a change not only of the IP address but also of the geolocation data, which helps improve the consistency of session parameters and ensures a high level of privacy when working with the target web resource.
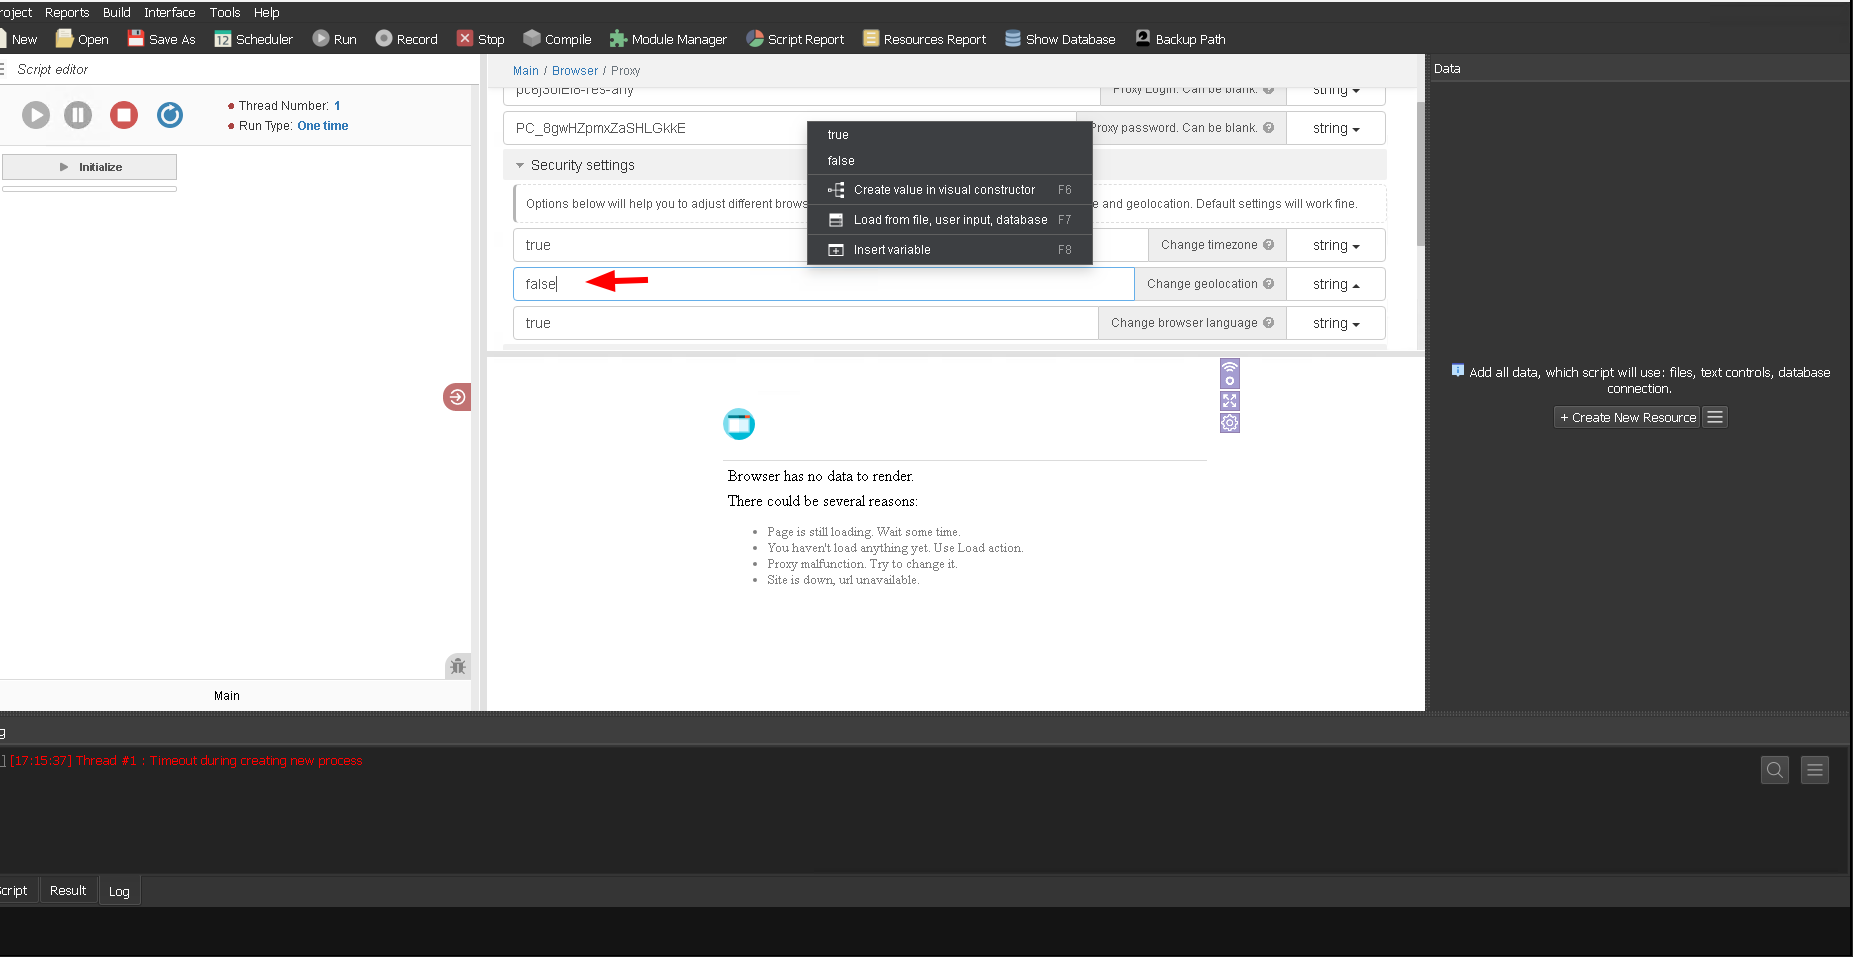
Fig. 6. Proxy server configuration interface in Browser Automation Studio software.
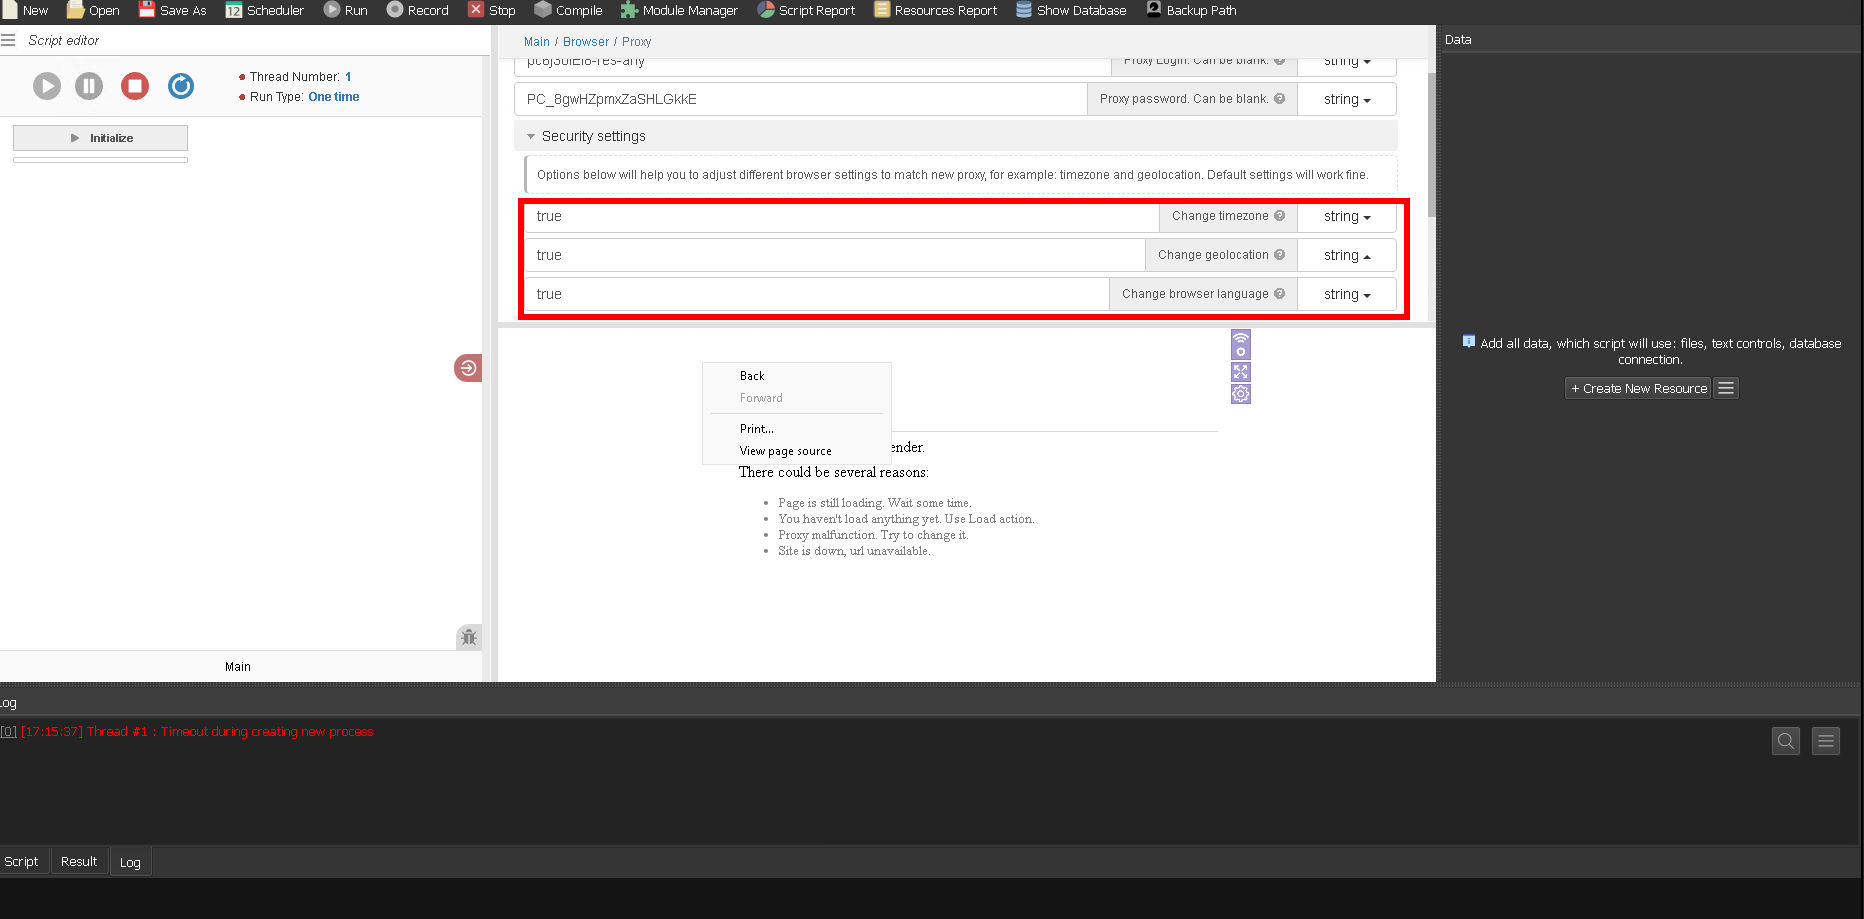
Fig. 7. Graphical interface of the proxy settings module in Browser Automation Studio with the geolocation data change option activated.
Click the "OK" button.
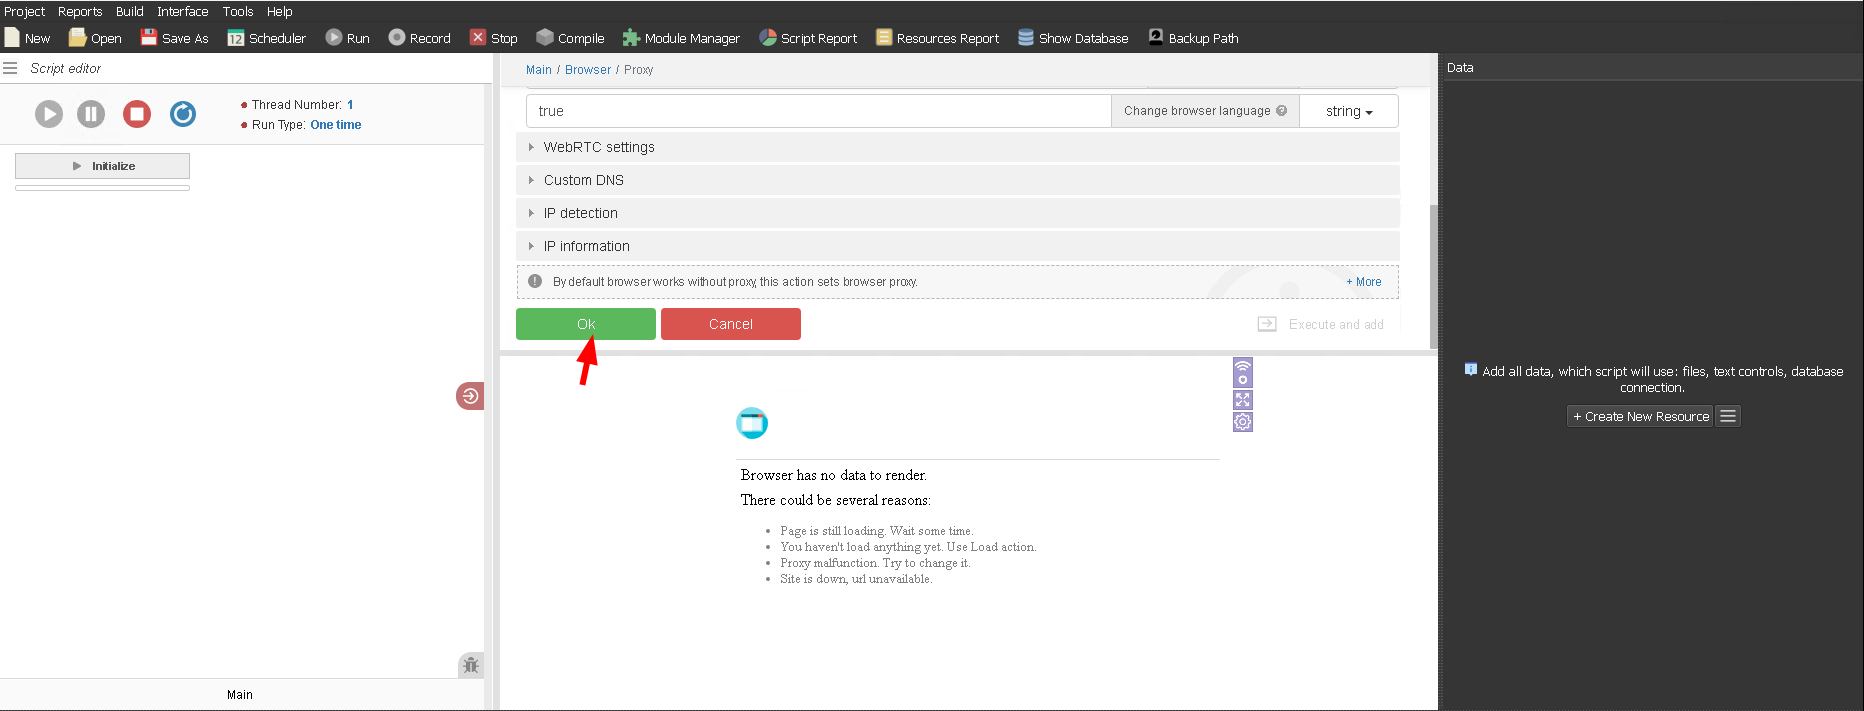
Fig. 8. Completing the proxy setup.
Upon completion of the setup, the system will automatically perform a functionality check of the proxy on internal servers and provide a detailed report of the test results.
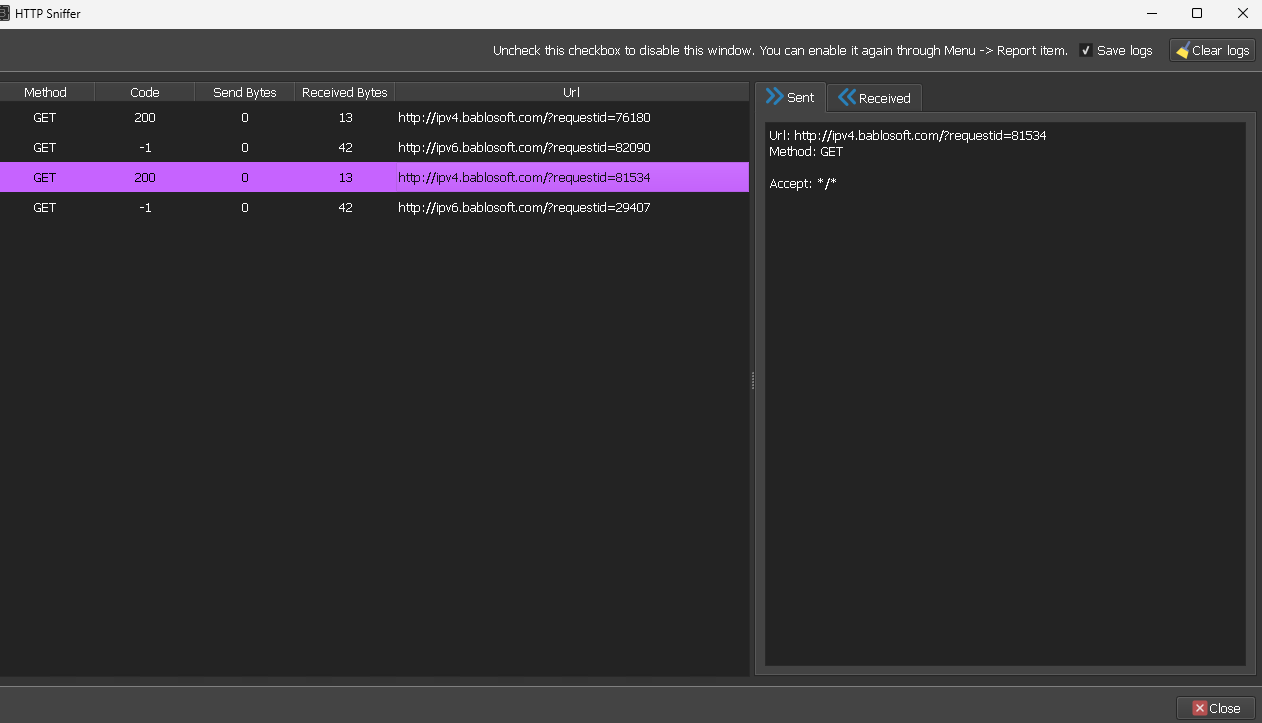
Fig. 9. Visualization of the results of automatic proxy connection verification in the Browser Automation Studio system.
We have verified the functionality of the proxy connection; now let's check the correctness of the IP address change and the corresponding geolocation data.
To do this, open "Current URL".
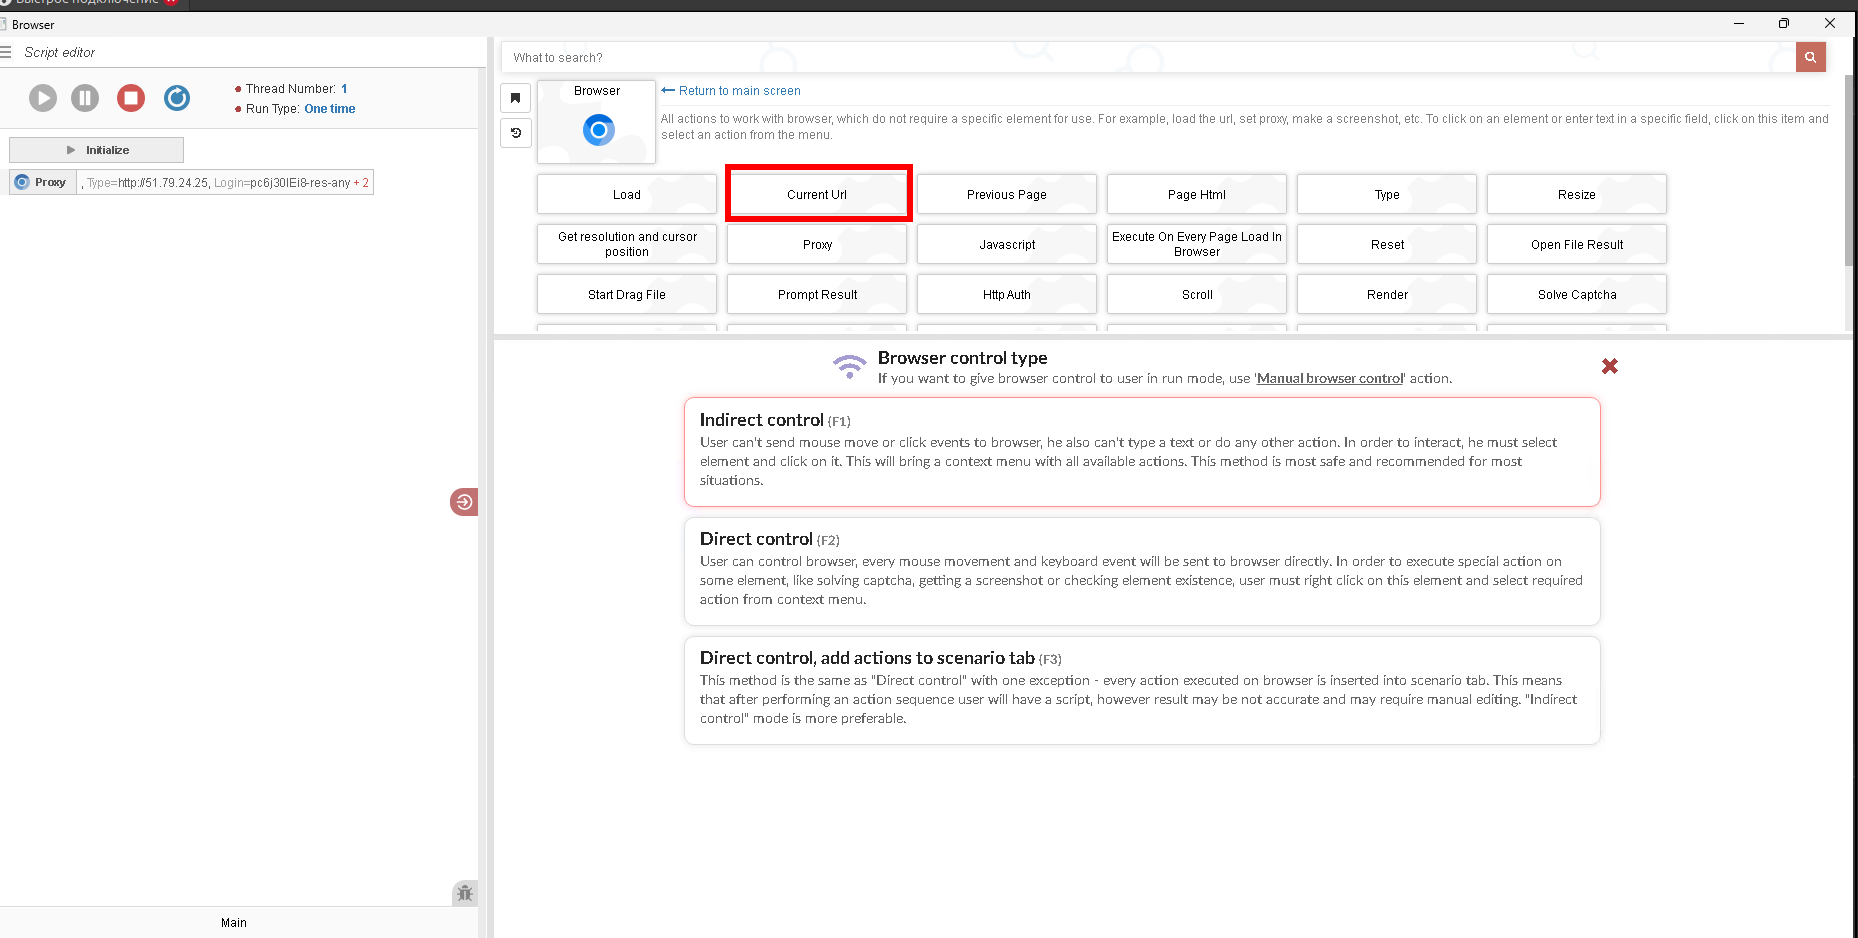
Fig. 10. Visual representation of the "Current URL" module user interface in the Browser Automation Studio (BAS) software environment.
Insert a link to a website for checking connection parameters and web browser privacy, and click "OK".
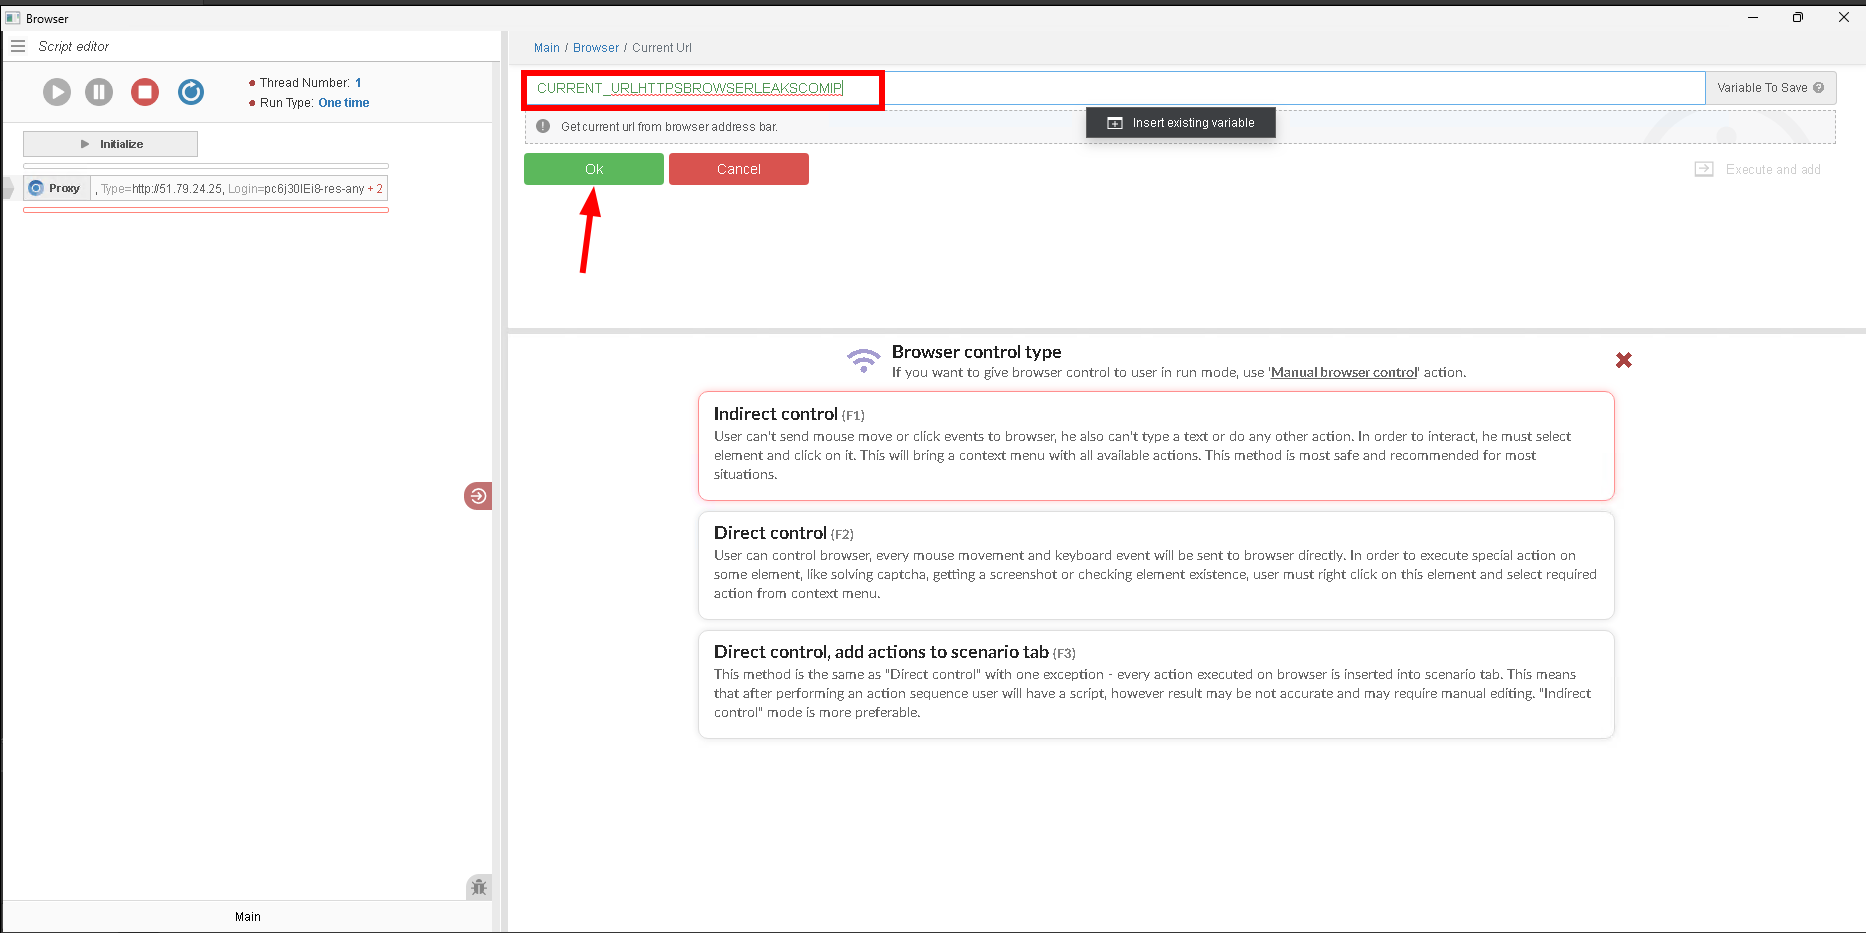
Fig. 11. Interface for entering a URL in the Browser Automation Studio environment.
After this, we see that the IP address and corresponding geolocation data have changed.
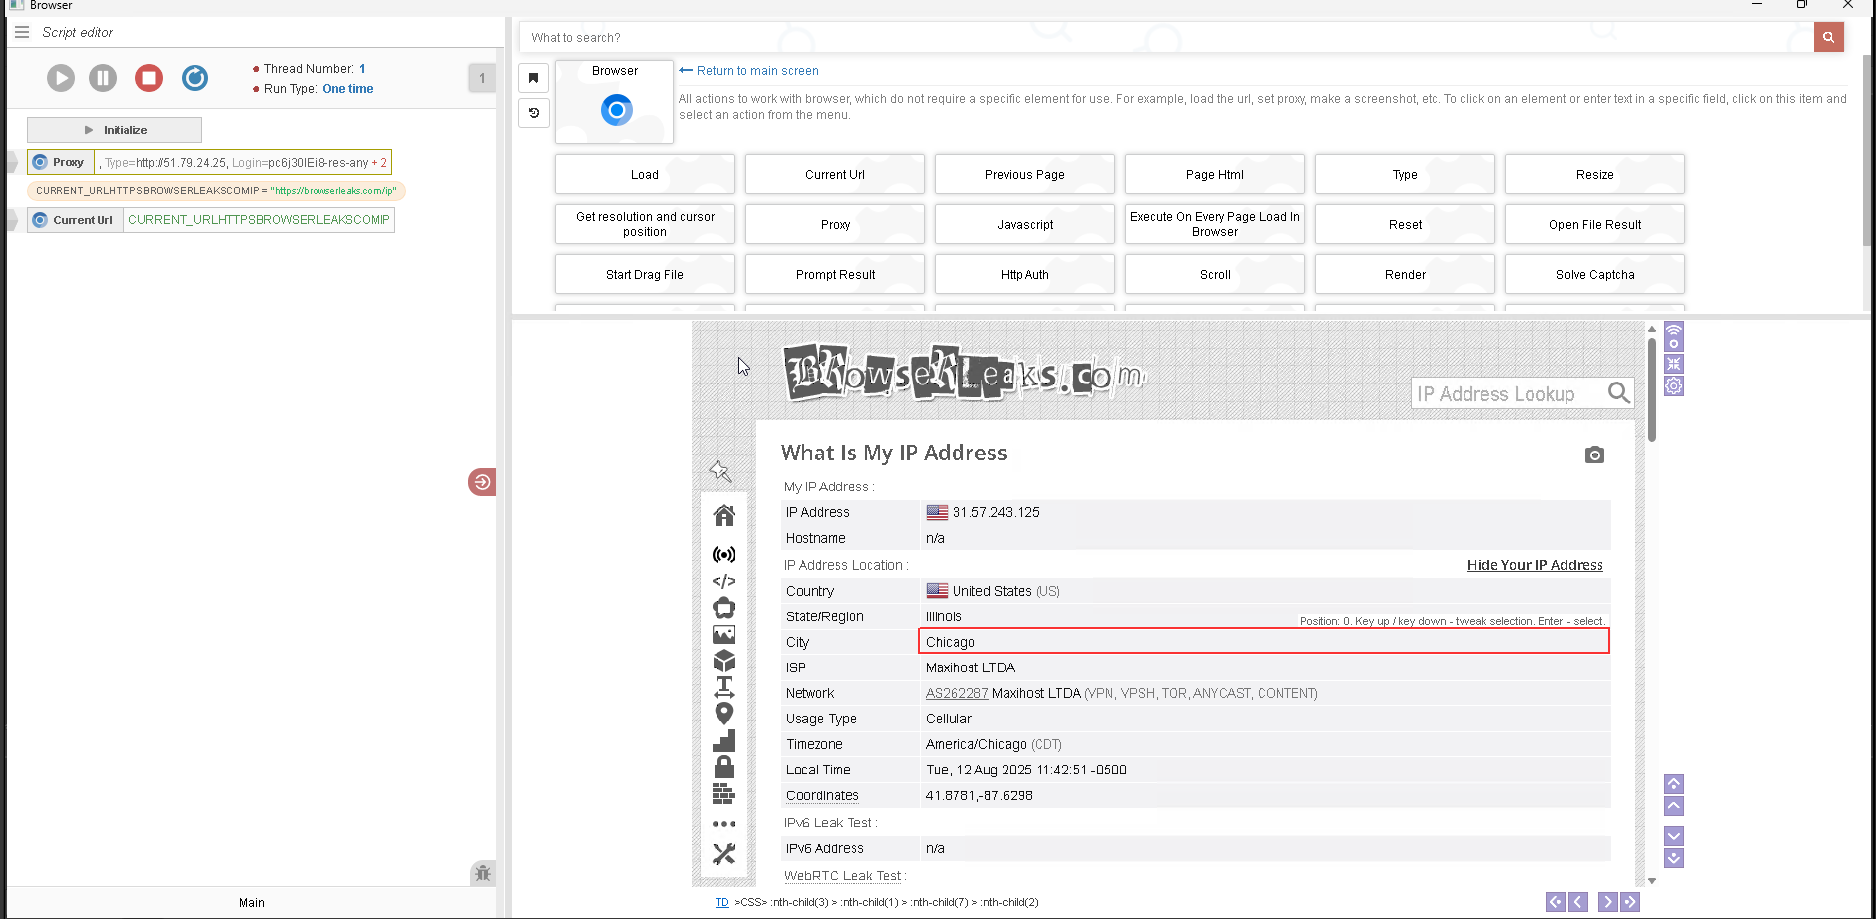
Fig. 12. Visualization of proxy configuration verification through a specialized browser parameter check service.
Congratulations! You have successfully configured a proxy in BAS. Now you can work safely online.
For enhanced protection, we recommend using virtual numbers for receiving SMS — this will provide additional privacy and protection against personal data leaks.


