

Setting up OpenVPN hassle-free: a step-by-step guide for Windows
Perhaps few of our readers are unaware of what a VPN is. However, navigating protocols like OpenVPN, WireGuard, or IKEv2/IPSec can be tricky. Especially when it comes to settings and configurations.
If these terms raise questions, this article will be useful for you. We will break down the connection to OpenVPN on Windows step by step — simply, quickly, and without unnecessary complications.

Installing and Configuring VPN via OpenVPN Connect
OpenVPN — is an open-source protocol that allows the creation of secure tunnels between a client and a server. It provides a secure connection, ensures free access to information, and protects data when using public networks. Furthermore, OpenVPN allows for private internet surfing while maintaining user confidentiality.
OpenVPN Connect — is the free and official software that works with this protocol. Thanks to the application, you can easily connect to a server using .ovpn configuration files.
Follow these steps to connect to a VPN on Windows using OpenVPN Connect:
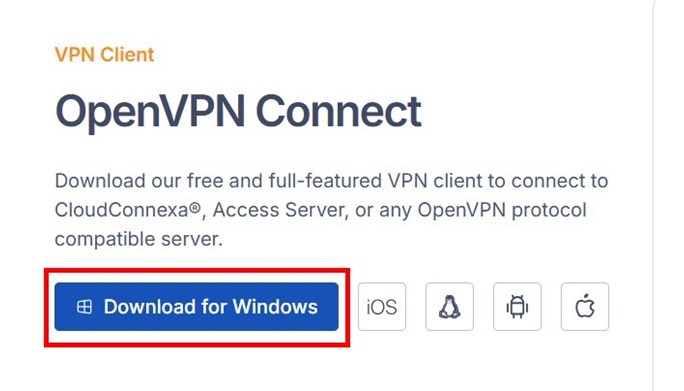
- Download the OpenVPN Connect program from the main page of the official website.
- Launch the program. The VPN setup window will appear. Skip this step for now. You first need to configure the program itself. Click on the three horizontal lines located in the upper part of the bottom-left corner.

Go to the Settings menu.
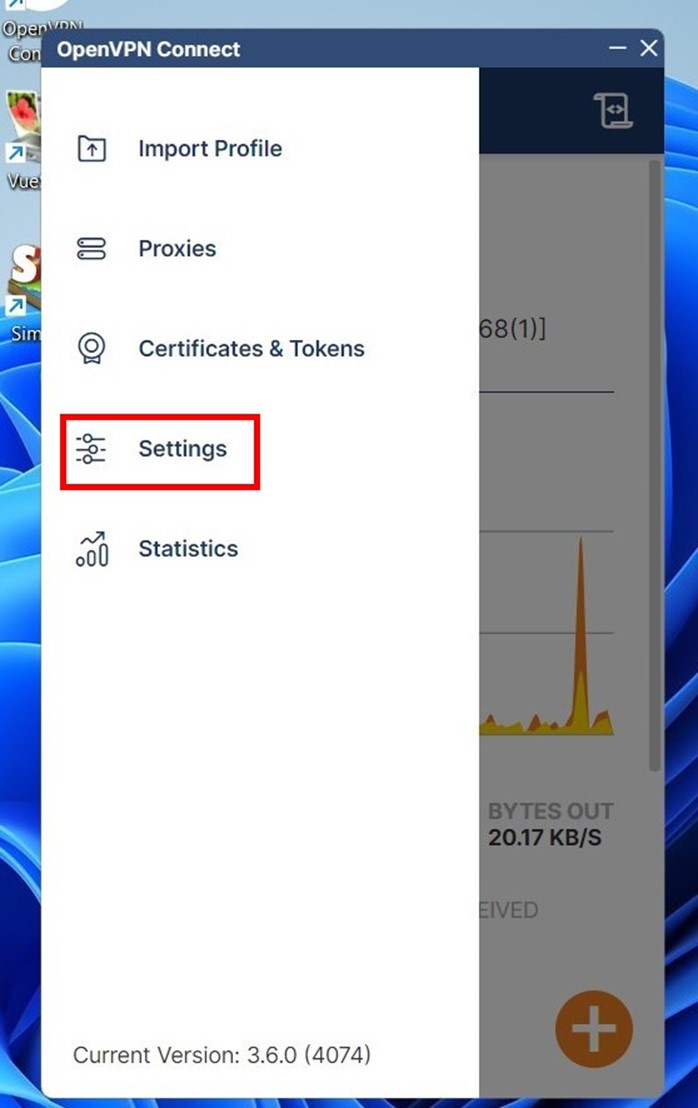
The OpenVPN Connect settings window will open. There is no need to adjust every item, especially if the user is a beginner.
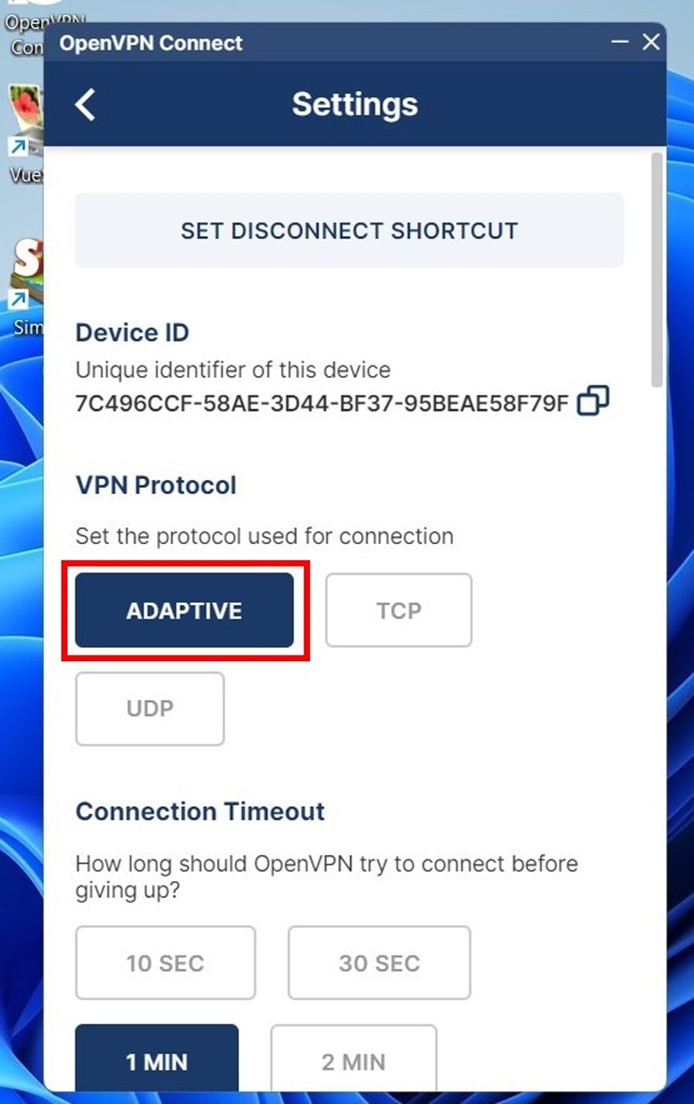
Pay attention to the following menu items:
- VPN Protocol. Many VPNs are based on the use of two protocols (TCP and UDP). To switch between them, select the Adaptive option. This feature improves connection stability and compatibility.
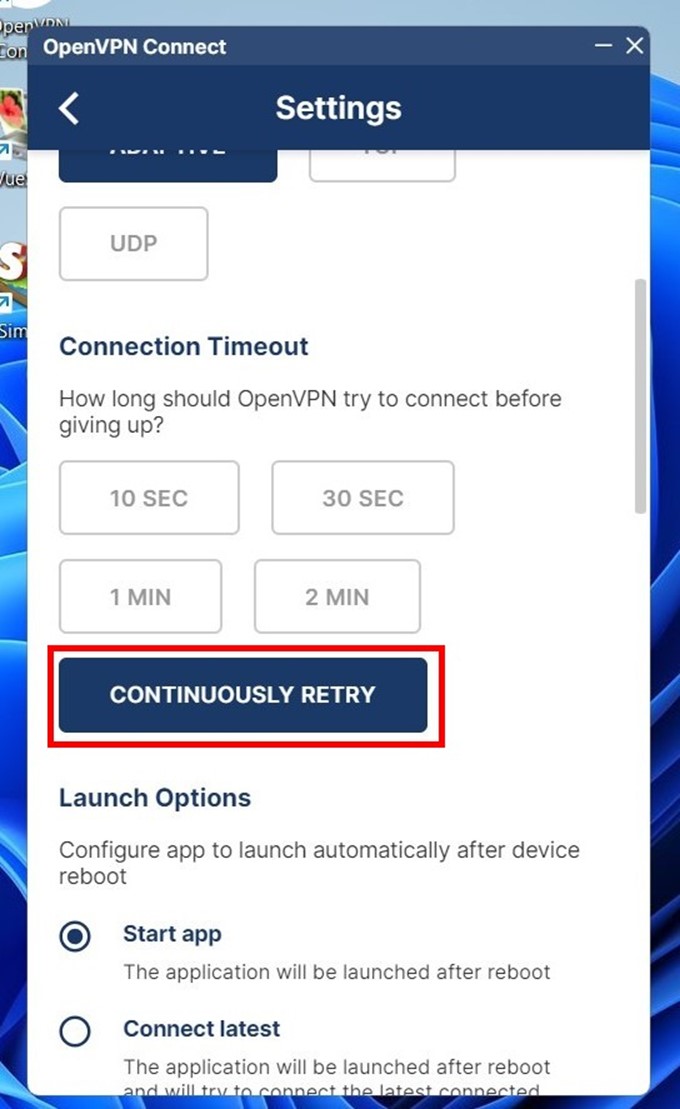
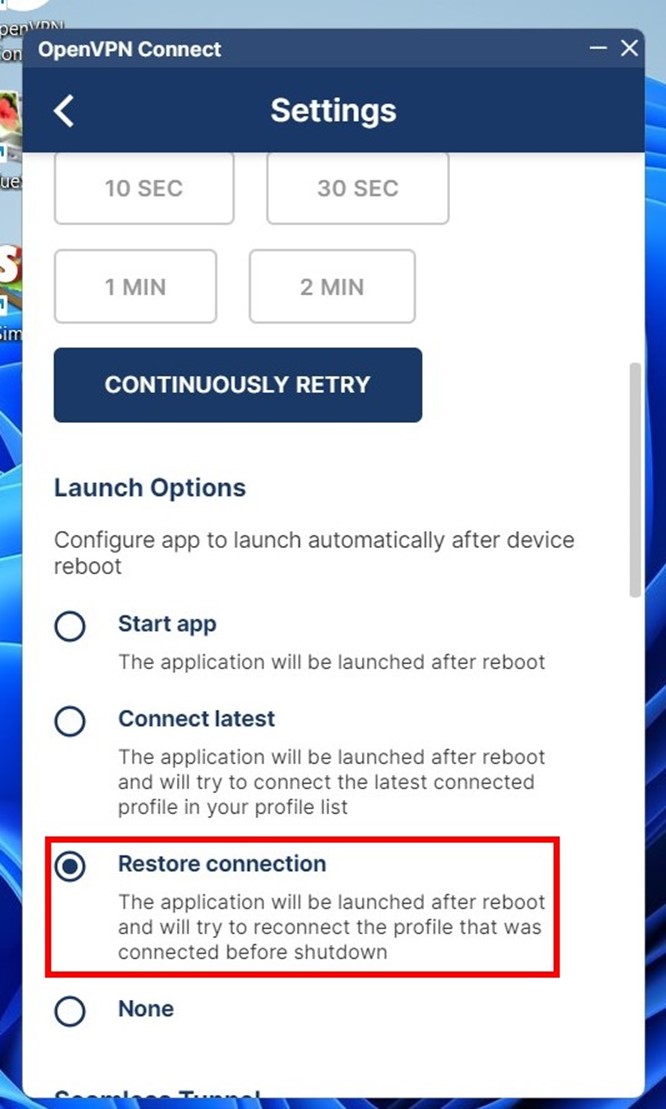
- Connection Timeout. In case of a connection drop, click the Continuously retry button so that the VPN constantly reconfigures itself to restore the connection.
- Seamless Tunnel. Check the box next to this option to prevent real IP leaks during VPN server failures or micro-disconnects. If the connection to the proxy server is lost, your internet connection will be cut off, but your real IP address or DNS will remain reliably protected.
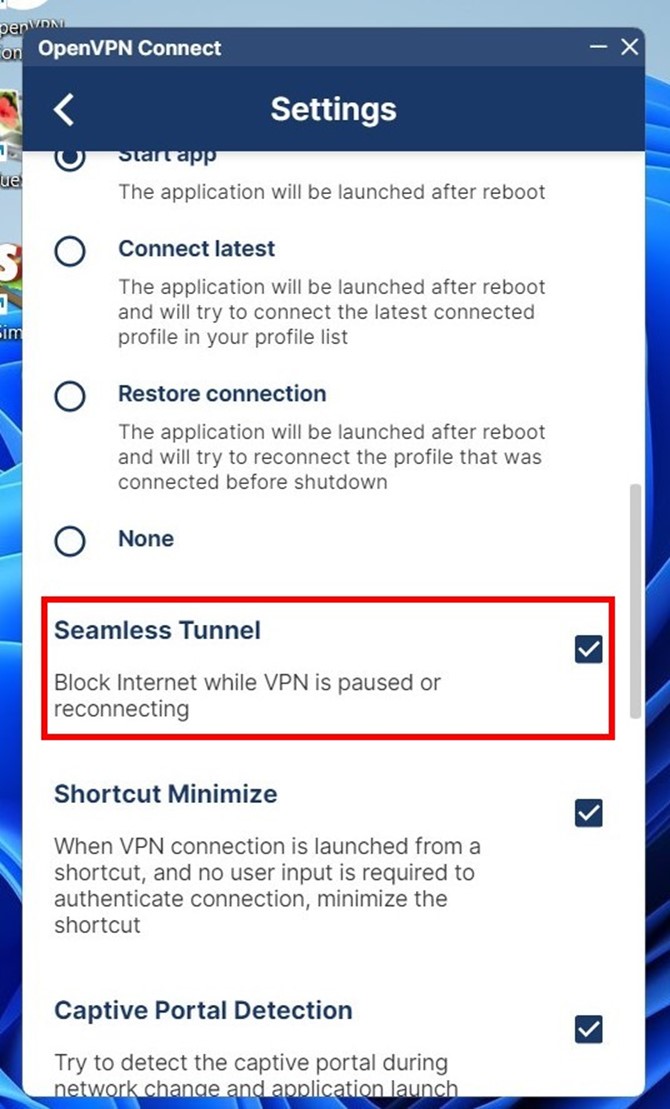
- Launch Options. Select Restore connection so that your real IP remains hidden even after restarting the device.
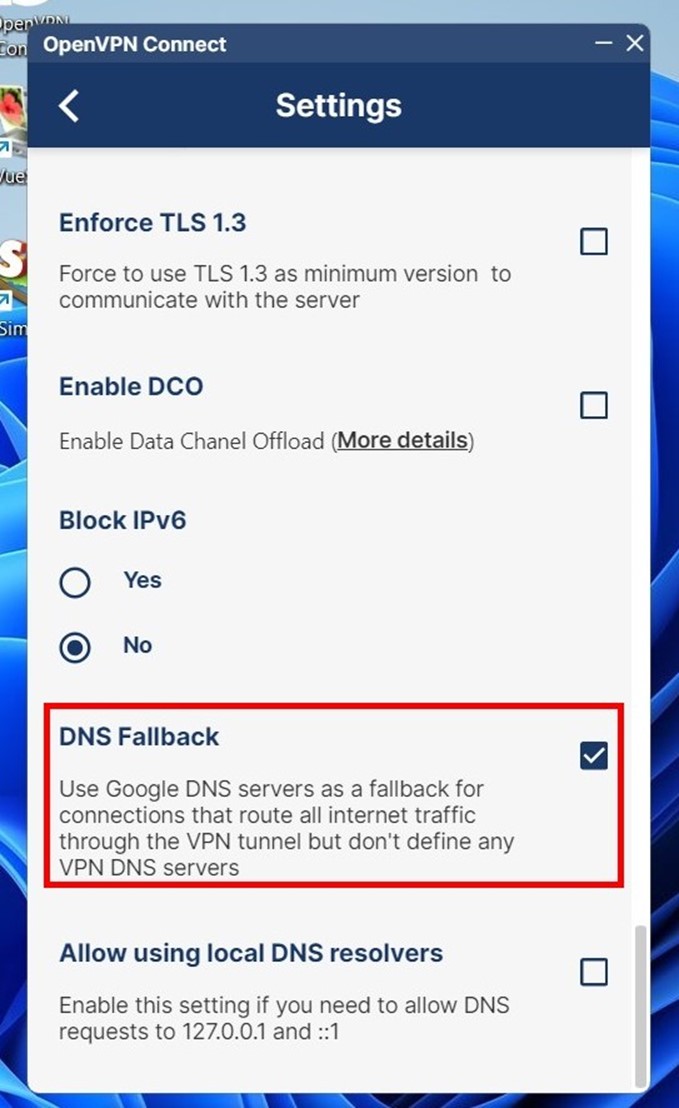
- DNS Fallback. If the connection to the VPN server is interrupted, your real IP address might leak through the local provider's DNS. Enabling this option will restrict requests only to Google DNS, significantly increasing the security level.
Connecting to VPN in OpenVPN Connect
A simple VPN connection starts with the correct configuration. Before launching OpenVPN Connect, you must select the appropriate .ovpn file. This file determines the traffic route and connection parameters. Such a file can be obtained on the App CyberYozh website along with a proxy purchase. All that remains is to upload it to the application and connect — quickly, securely, and without extra settings.
The steps are as follows:
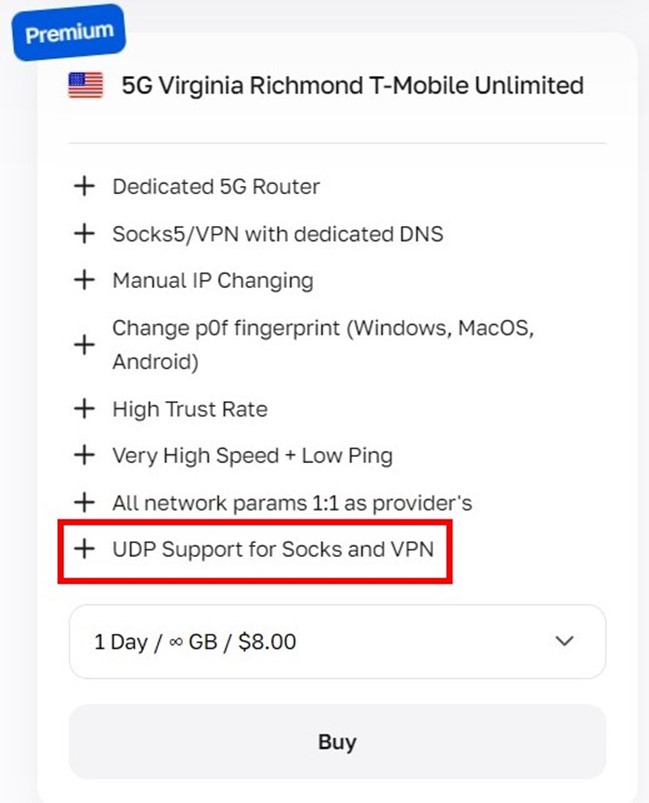
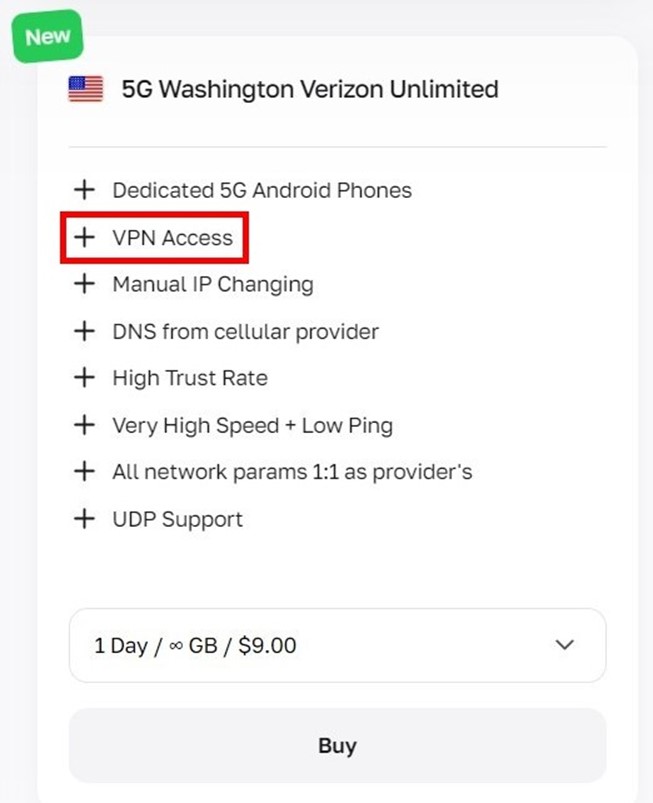
- On the official App CyberYozh website, go to the proxy rental section. Select a proxy marked VPN access or UDP support.
- In your personal account, find your rented proxy. Then click on OpenVPN Configuration. After that, download the configuration file to your computer.

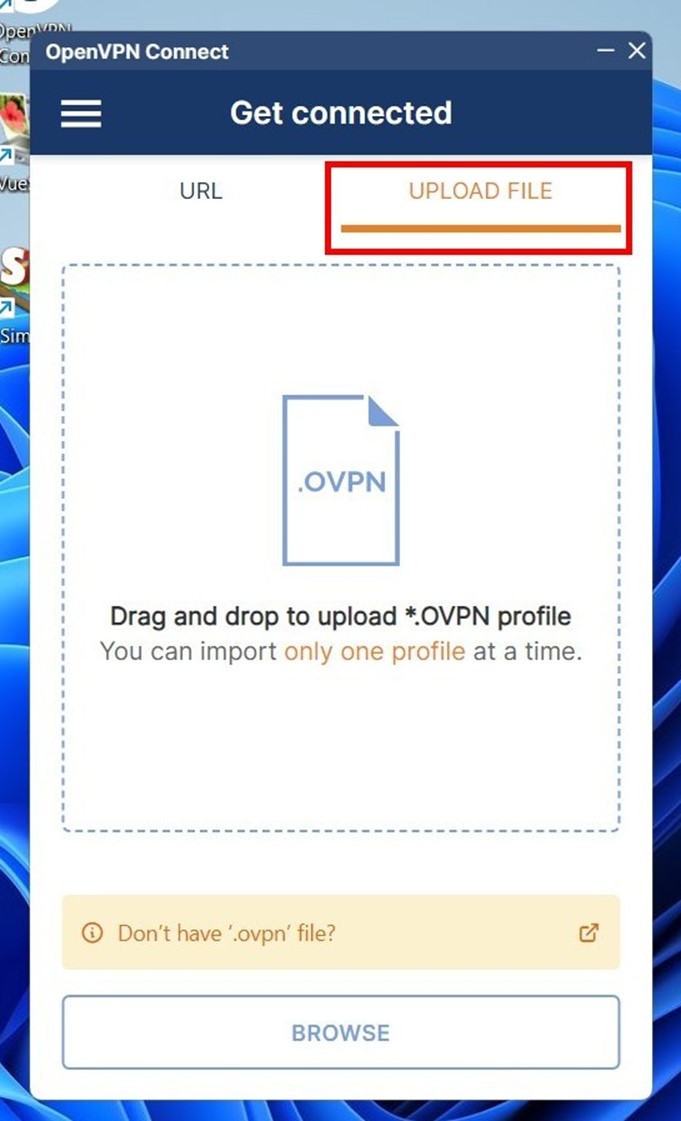
- Open the OpenVPN Connect application for your computer. Then go to the UPLOAD FILE section.
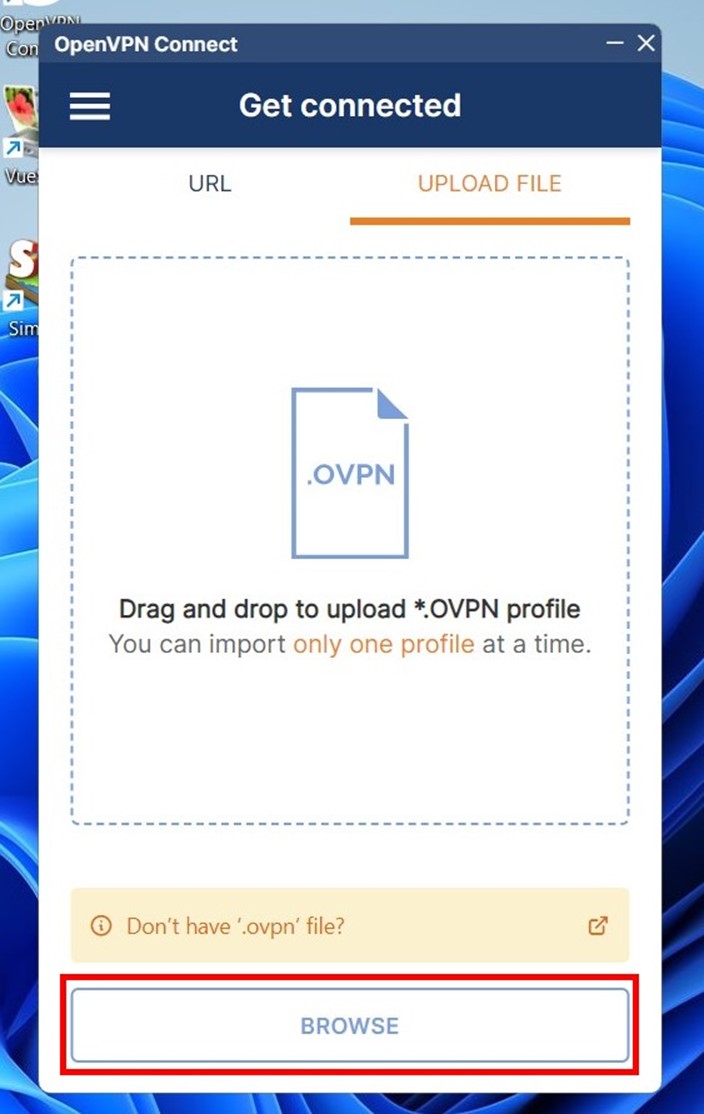
- Click the BROWSE button. Then select the file with the .ovpn extension that you previously saved to your computer.
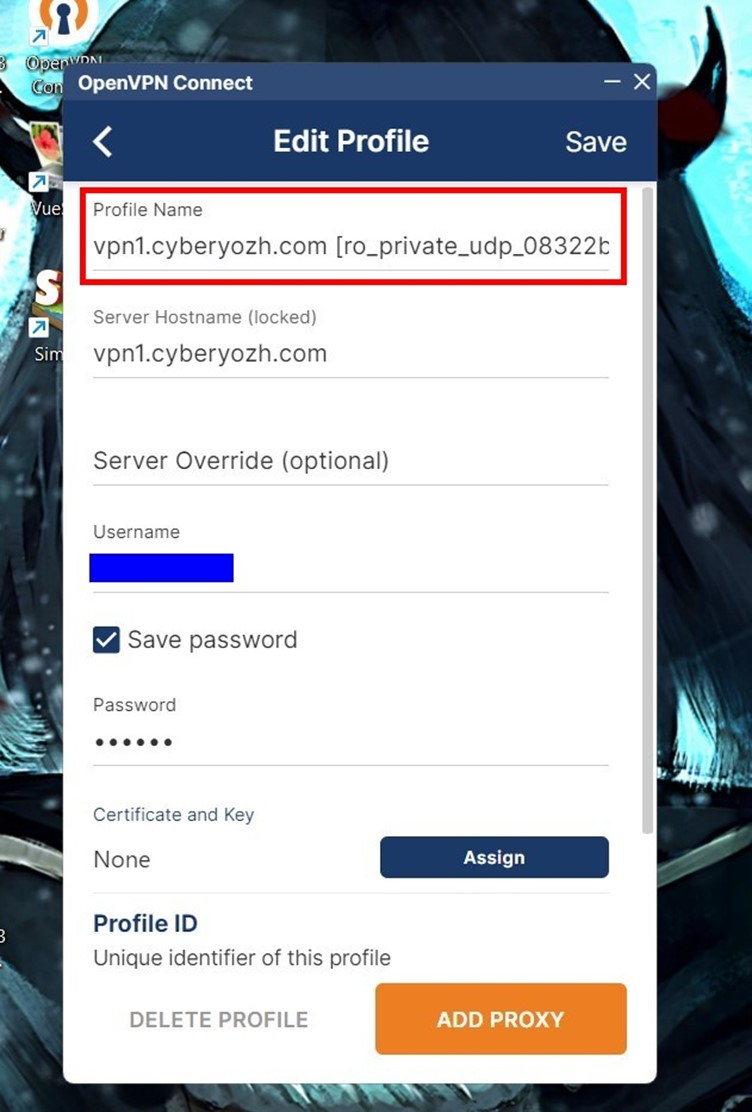
- The VPN settings window will open. Immediately check the Save password box — a field for entering the password will then appear.
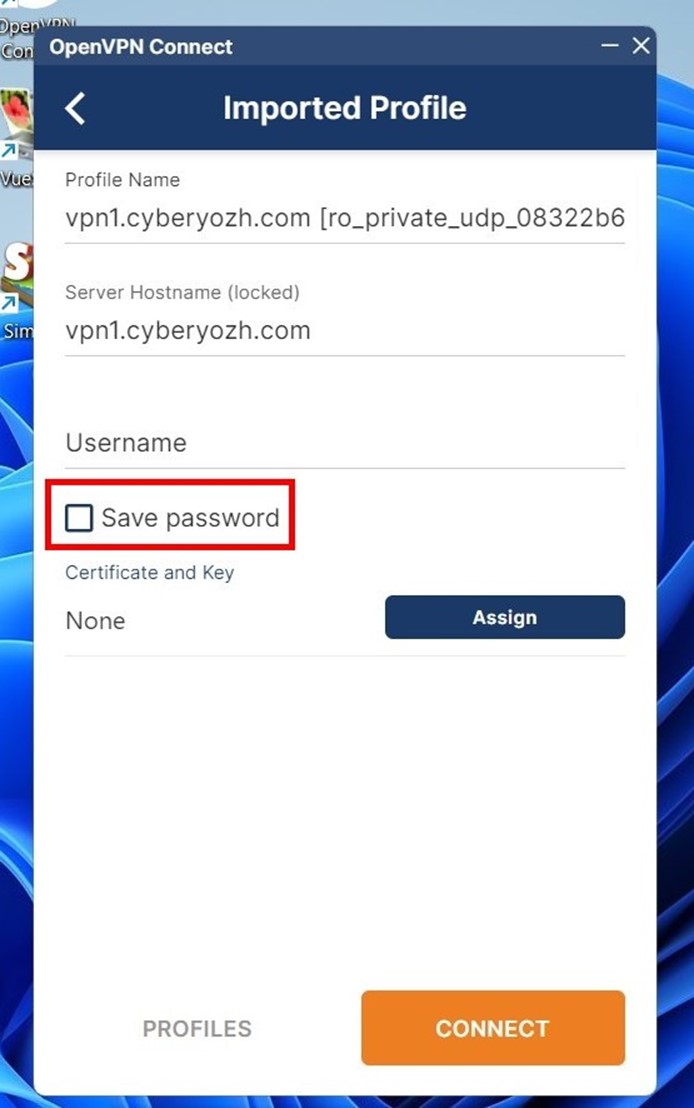
- The Profile Name field can be left as is, or you can enter your own name for the configuration.
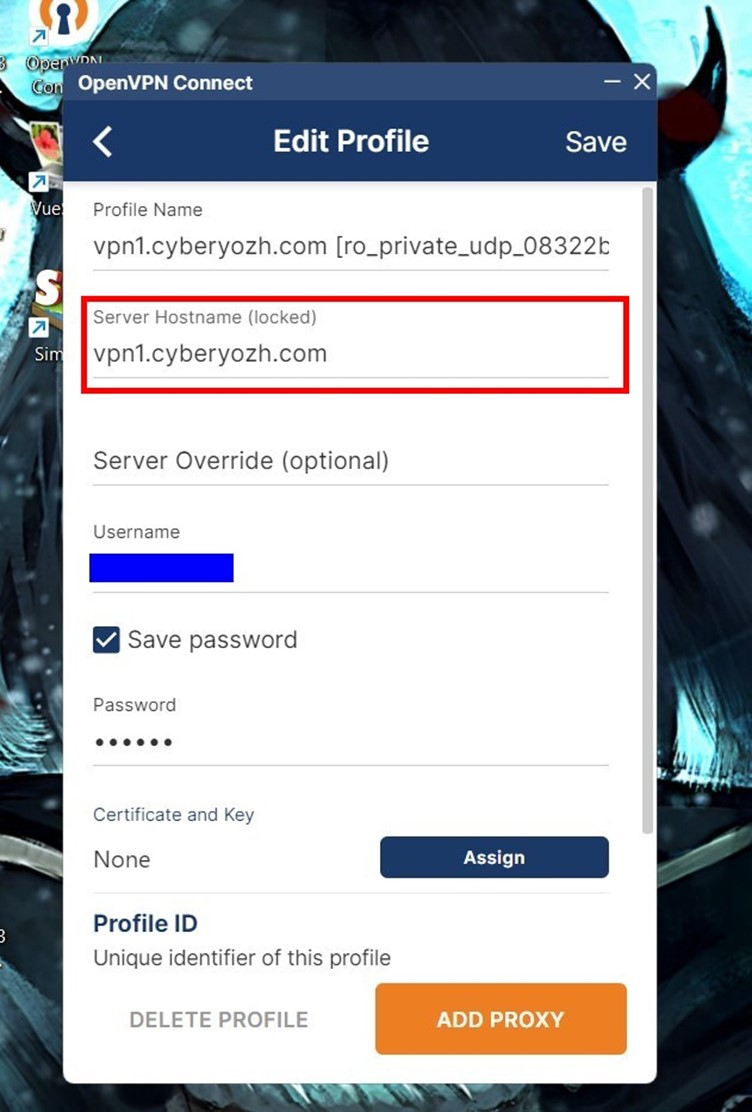
- The Server Hostname field is assigned by the system. It is locked, and the data in this field cannot be changed.
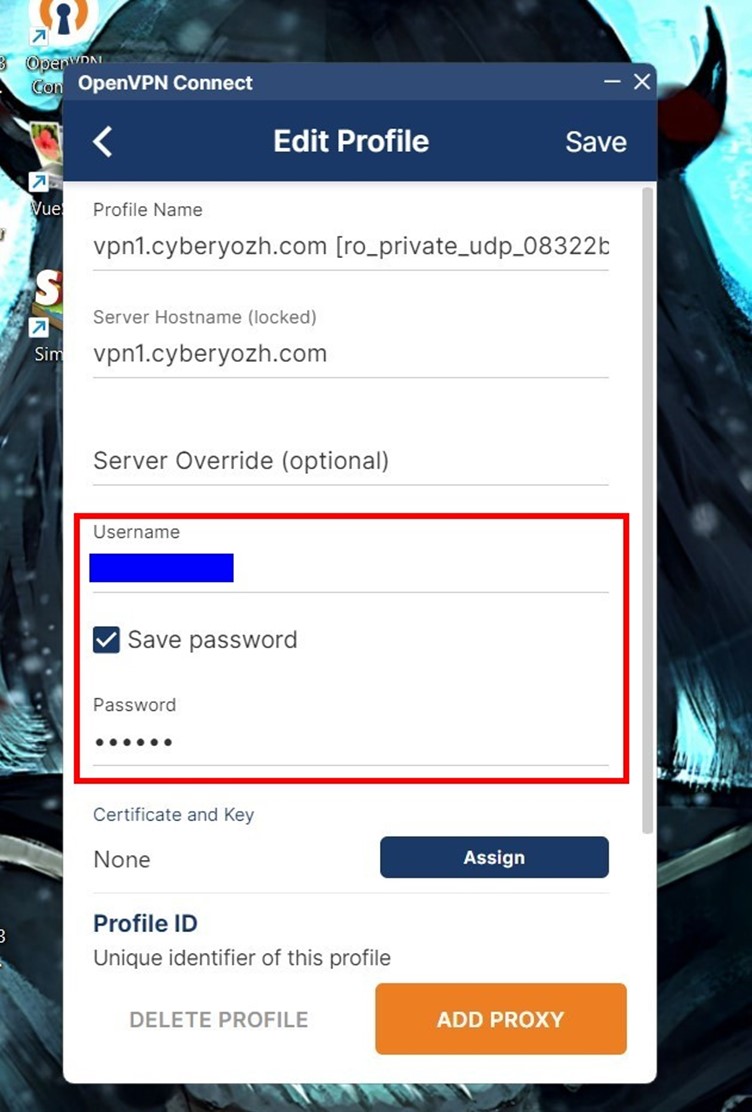
- In the Username and Password fields, specify your VPN login and password received from App CyberYozh.
- Click ADD PROXY (or ADD).
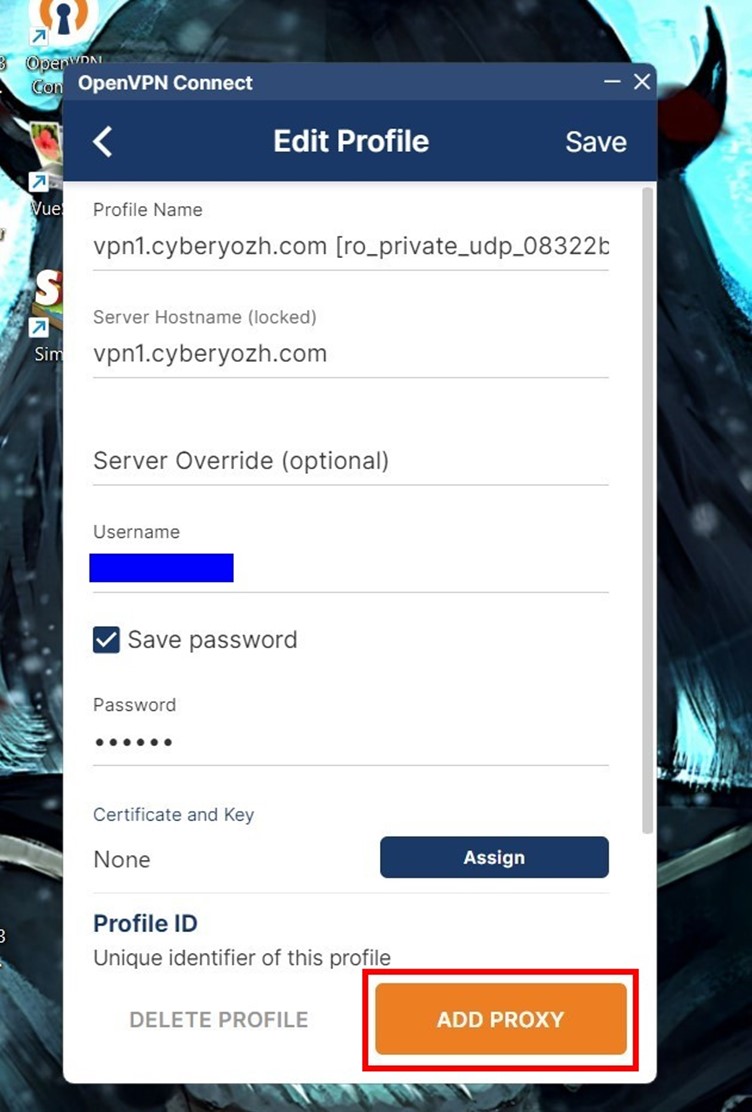
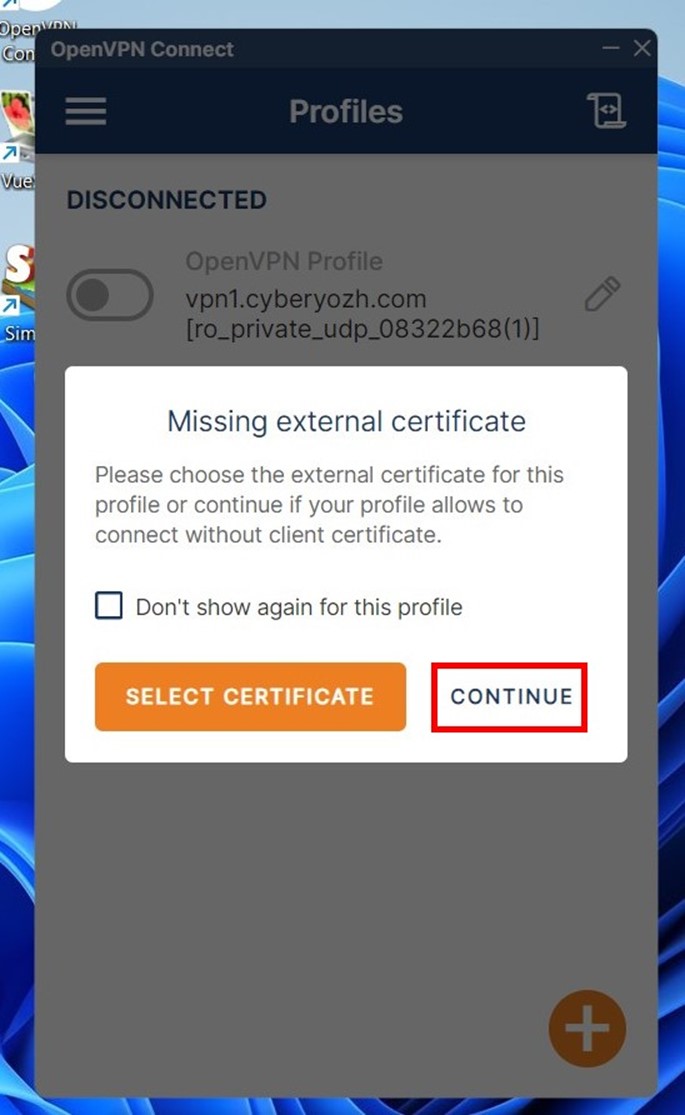
- A warning will appear stating that the profile does not contain a client certificate. Don't worry — in most cases, it is not required. Some configurations use certificates for authentication. However, we have already entered a username and password, creating an encrypted connection. Just click Continue to proceed.
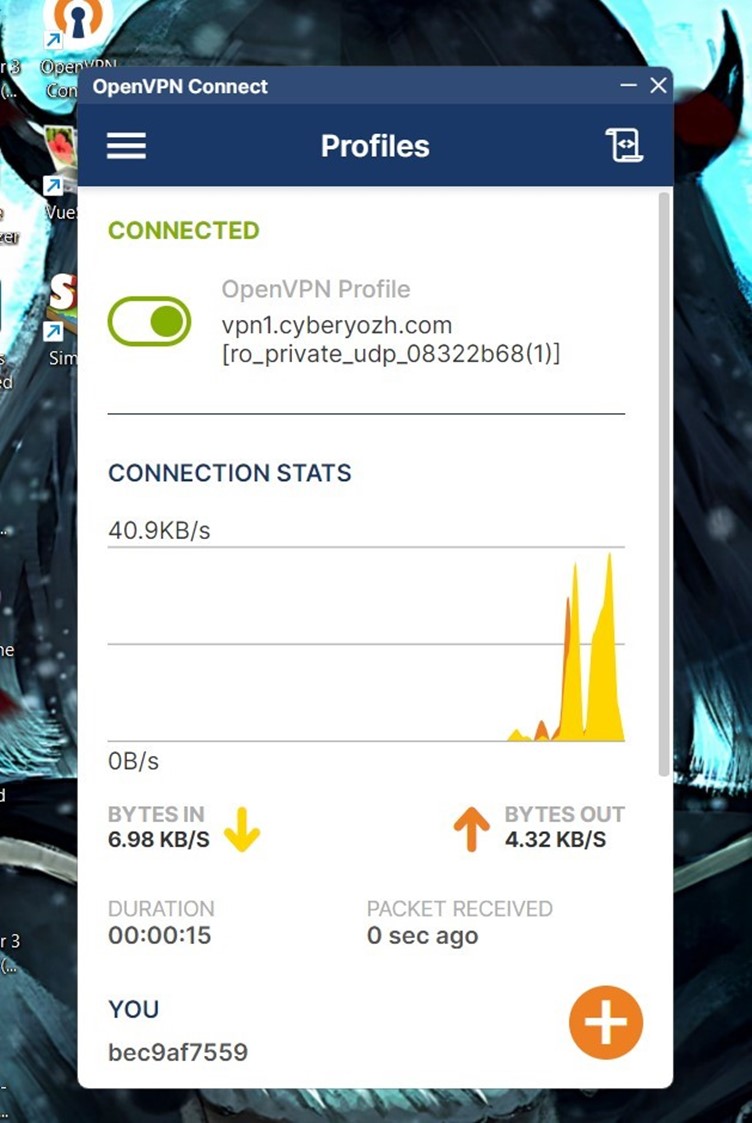
- After launching the VPN, the switch will change color to green. Connection stats will also appear.
- To disconnect the VPN, click the switch again and select CONFIRM.
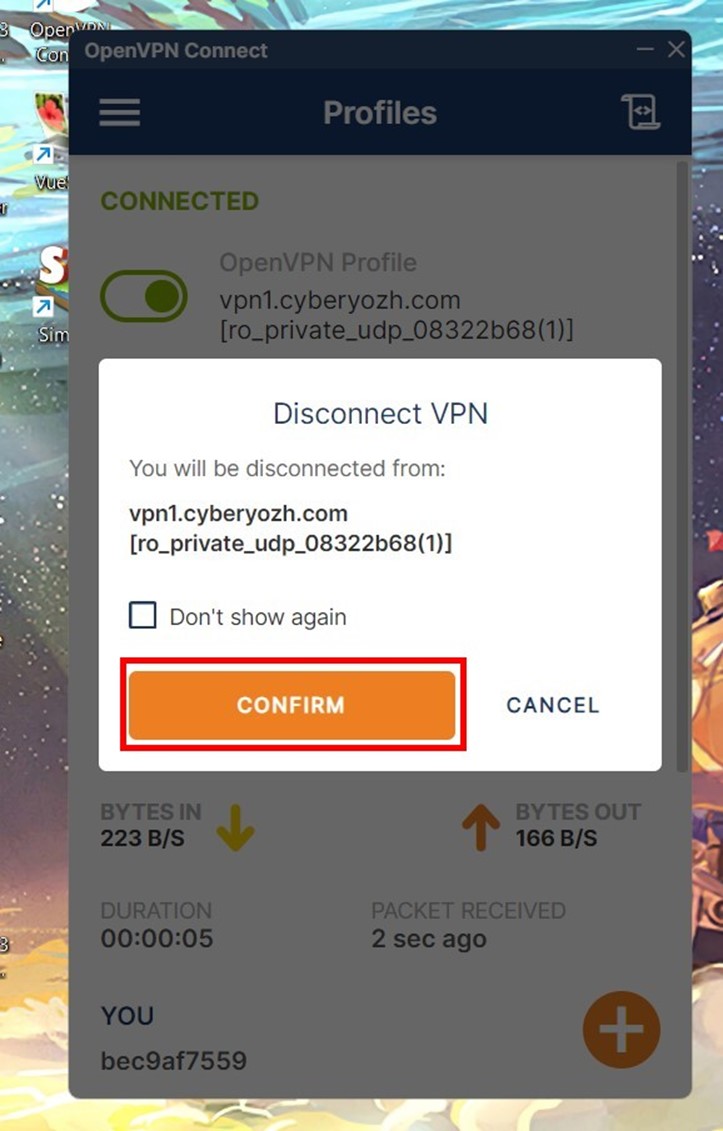
- The button will turn gray, and the stats will disappear.

- To connect a new VPN, click the "+" icon.

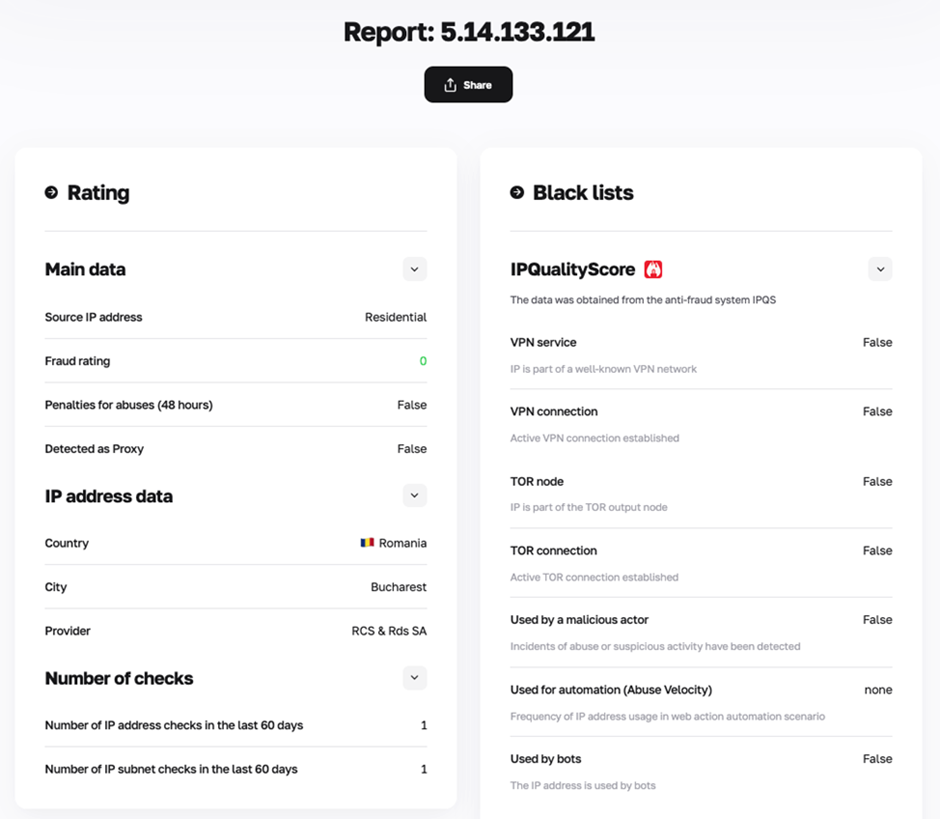
Geolocation Check
The final step after connecting the VPN from App CyberYozh is verifying its performance. This can be done using any IP scanner in your browser. With a correct connection, the online service will show a different country.
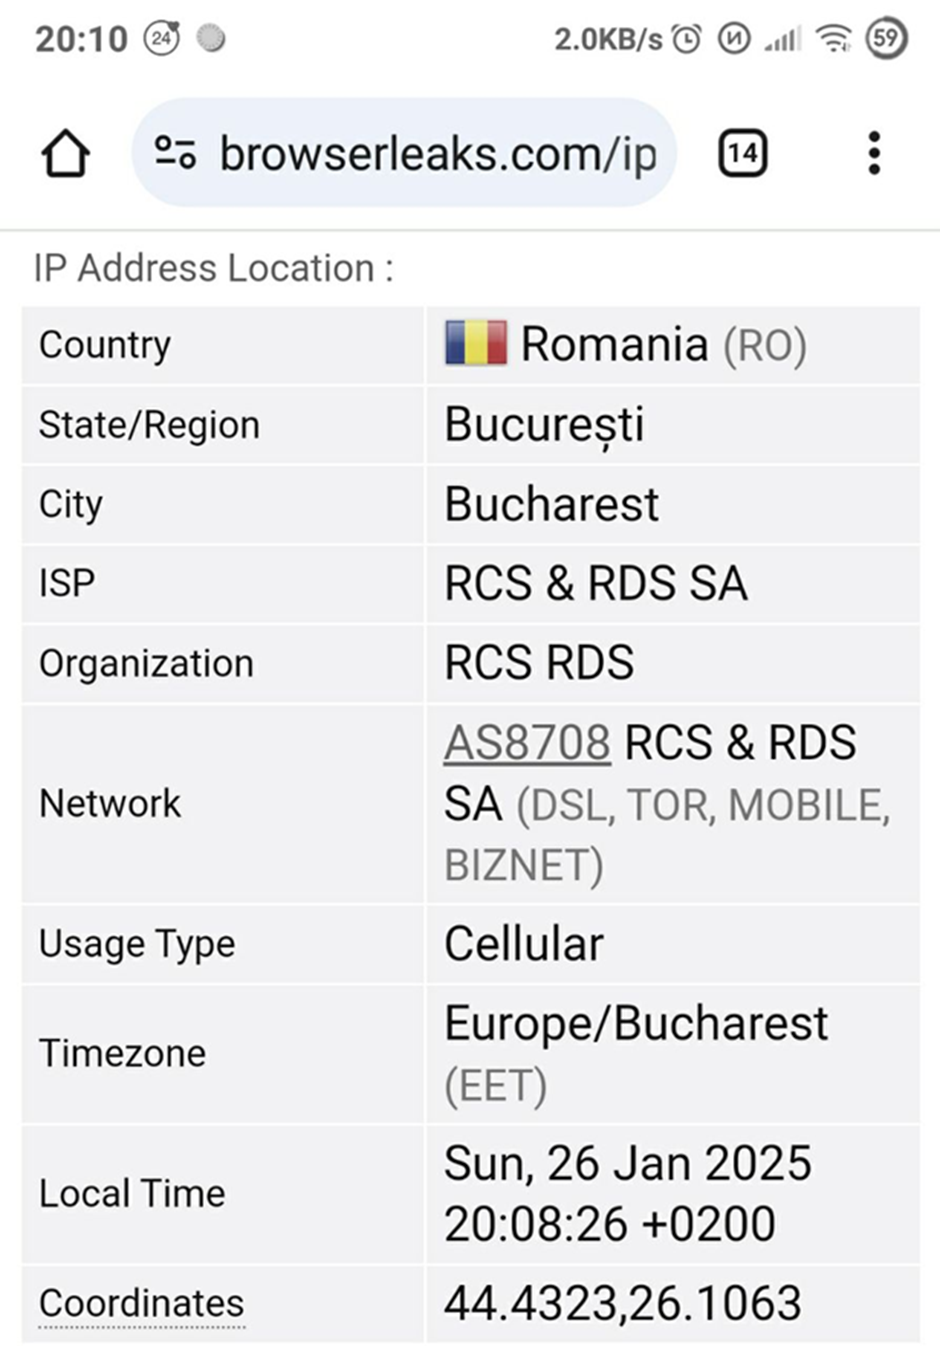
Before getting to work, it's worth ensuring the reliability of the IP address masking using our checker.
Conclusion
Setting up OpenVPN on Windows is easier than it seems if you follow a proven algorithm. Step by step, you will successfully connect without unnecessary difficulties. Now your traffic is protected, and access to necessary resources is open. Happy secure surfing!


