
Antidetect browser
Octo BrowserIntegration with CyberYozh App
Fully Supported
Browser Support
Chromium
Team Collaboration
Team collaboration
Security
End-to-end encryption
Starting Price
€7/month
Set Up Geelark Cloud Phones with CyberYozh Proxies
Connect your Geelark cloud phone to CyberYozh App proxies for account management, regional testing, automation, scalable operations and more. Choose the connection type, IP location, and session settings that suit your daily tasks.
• static ISP and rotating residential options • mobile LTE/5G/4G proxies with unlimited traffic • geotargeting for local ads, pricing, inventory and regional testing • high-speed IPv4/IPv6 datacenter proxies for data collection and automated testing • manual and API-based IP changes on mobile proxies • sticky sessions or IP rotation to match your task

Give each Geelark cloud phone a connection suited to its purpose. CyberYozh App mobile proxies provide unlimited traffic for daily account operations, while static ISP proxies offer a fixed IP for repeat logins across 195+ countries. For regional testing and data collection, rotating residential proxies provide access to 100M IPs with geotargeting and long session controls.
Clean Residential IPs
Advanced Session Control
Precise Geo Targeting
Automation Ready
High Success Rate
API Access
Add your CyberYozh App proxy details in Geelark’s proxy settings, check the connection, and assign it to your cloud phone. Start with one proxy or import multiple connections when setting up more environments.
• Connect using your proxy host, port, username, and password • Select the protocol supported by your chosen proxy • Check connectivity and detected IP location inside Geelark • Import proxies in batches for larger setups
CyberYozh proxies integrate with all major antidetect browsers. Choose the browser you trust for fingerprint management, and power it with stable residential infrastructure built for scaling.
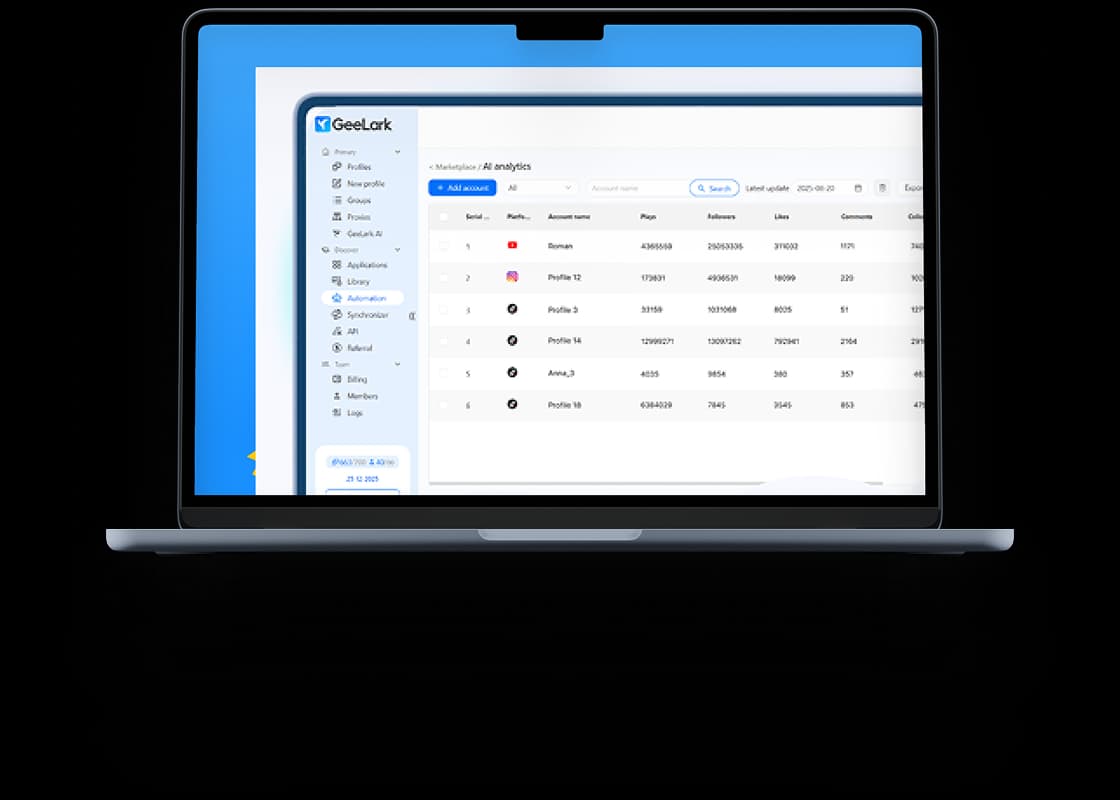
Geelark is a platform for accessing and managing Android environments hosted in the cloud. A Geelark cloud phone runs mobile apps on remote infrastructure, letting you operate it from your computer without keeping a physical handset on your desk.
The desktop application is your control panel: you use it to create profiles, launch cloud phones, and interact with their screens. Apps are installed inside the cloud phone. Its configured proxy provides the IP address those apps use when connecting through it.
For example, an agency can assign a cloud phone to a client’s Instagram account and return to that environment for publishing and account management. CyberYozh App supplies the proxy connection for the setup covered below, while Geelark provides the mobile phone environment where the agency’s work takes place.
Yes. Geelark offers a Free plan with two profiles, 30 bonus minutes, and one seat. This gives you room to test a cloud phone before committing to a larger setup. However, those minutes are a limited allowance, so the free plan does not cover unlimited cloud phone usage.
Your budget has three separate components:
Cost component | What to account for |
Geelark plan | Profile capacity, team access, and included features |
Cloud phone usage | Included minutes and your chosen usage or rental arrangement |
The separately purchased connection assigned to the cloud phone |
Get a 15% discount on your first Geelark subscription.
Start with the official Geelark download page and choose the installer for your computer. Install the application, then sign in to your Geelark account or register if you have not created one.
Before configuring a cloud phone, have your active CyberYozh App proxy details ready: protocol, host, port, username, and password. Copy these from your proxy connection details rather than using your provider account login.
Decide which location the connection should use and whether the task needs a dedicated residential static IP, a sticky session, or rotating residential proxies with real ISP. Check the options available with your purchased proxy. Having these choices settled makes it easier to configure the profile and recognize unexpected results during testing.
Start with one cloud phone and an active proxy connection. Complete the setup and test your intended app before repeating the process for additional accounts or projects.
Open the Profiles section in Geelark and select New Profile. Give the environment a recognizable name, such as “Client A Instagram,” and assign it to an appropriate group.
Choose the available Android configuration that suits the app you intend to run. Review the cloud phone’s billing option before saving, particularly if you are using a limited allowance of included minutes.
If you have not purchased a connection, choose one from the CyberYozh App proxy catalog and open its connection details.
In Geelark’s proxy configuration, select Custom to enter a new proxy. Choose the protocol specified for your CyberYozh App connection, then enter the host, port, username, and password in their corresponding fields. Copy each value carefully, avoiding extra spaces.
If you previously added the connection to Geelark’s proxy list, select it from Saved proxies instead. Confirm that you are assigning the intended connection to this profile, especially when several proxies have similar names.
Click Check proxy to test connectivity and inspect the detected location. Compare the result with the region selected for your proxy.
If the check fails, review the credentials, protocol, and port, then confirm that the proxy is active. Resolve the connection error before continuing. If the location appears unexpected, check your targeting settings and the location information returned by the test.
Save the profile and launch the cloud phone. Install or open the intended app, then complete a small task representative of your daily activity. For example, an agency could access a client’s authorized account and open its publishing interface.
Check that the app loads and responds as expected. Record any error messages before changing settings, and complete this first test before adding more environments.
A successful proxy check in Geelark confirms that the configured connection responds to the test. It is a useful first result, but your setup still needs to work inside the app you intend to use.
Before adding more cloud phones, check four things:
Location: Does the detected IP location match your intended region?
App access: Can the target app connect and complete a representative action, such as opening a publishing screen or saving a draft?
Session behavior: Does the connection remain usable, with IP changes following your selected settings?
Return access: Can you close and reopen the same cloud phone, then resume the task as expected?
Record the results against that profile so you have a reference if behavior changes later.
You can always use CyberYozh App to check your IP address, browser fingerprint and the most suitable DNS list for your current IP.
Troubleshoot the setup before replacing your proxy
A failed request does not tell you which part of the setup needs attention. Start with the symptom, then change one setting at a time and repeat the same test. This helps you identify what made a difference.
Symptom | What to check |
Proxy check fails | Compare the username, password, host, and port with your CyberYozh App connection details. Confirm the selected protocol matches and the proxy is active. |
Detected location differs | Review your selected targeting. Compare another IP-location database before concluding that the connection uses the wrong region, since databases can report different locations. |
IP changes unexpectedly | Check whether you purchased a static or rotating connection. Review rotation intervals, sticky-session settings, and any manual or API-triggered changes. |
Proxy check passes but an app fails | Check whether other apps connect, whether the target service is available, and whether the affected account shows a verification request or restriction. |
Cloud phone feels slow | Identify whether the delay affects screen controls, app loading, or both. Compare another app and check your local connection to help separate remote-access delays from app-request delays. |
These checks narrow down possible causes; none proves a diagnosis on its own. Keep a note of the settings you changed and whether the result improved.
If you need support, share the exact error message, the time of failure with your time zone, the proxy protocol, and a screenshot with passwords and other credentials hidden.
Once your first Geelark cloud phone completes its test task, use that configuration as a reference for additional environments. Record the protocol, location, and session settings, then assign the appropriate proxy credentials to each new profile.
For larger setups, use Geelark’s bulk proxy import to add multiple connections together. Check each imported proxy’s connectivity and detected location before assigning it to a cloud phone. Importing a batch saves entry time, but each connection still needs verification.
As activity grows, monitor cloud phone running time and proxy usage against your budget. Add environments in manageable groups so you can spot problems before they affect more accounts.
Ready for your next cloud phone or client project? Choose its connection in CyberYozh App and build on the setup you have already tested.