
How to set up a mobile proxy for Puppeteer
Puppeteer is a web automation framework, specifically designed for Chromium-based browsers, that primarily operates as a JavaScript/Node.js library. It works best for precise, low-level automation and is instrumental in multi-account management and web business optimization, where multiple actions must be performed regularly and quickly.
Puppeteer excels at granular browser control, making Puppeteer proxy integration the foundation for reliable automation at scale.
Choosing a Puppeteer proxy: CyberYozh mobile proxies
Since Puppeteer works best for web automation, mobile proxies are the optimal choice for Puppeteer. They carry the highest trust score among all proxy types, so platforms won't restrict your sessions during automation activities.
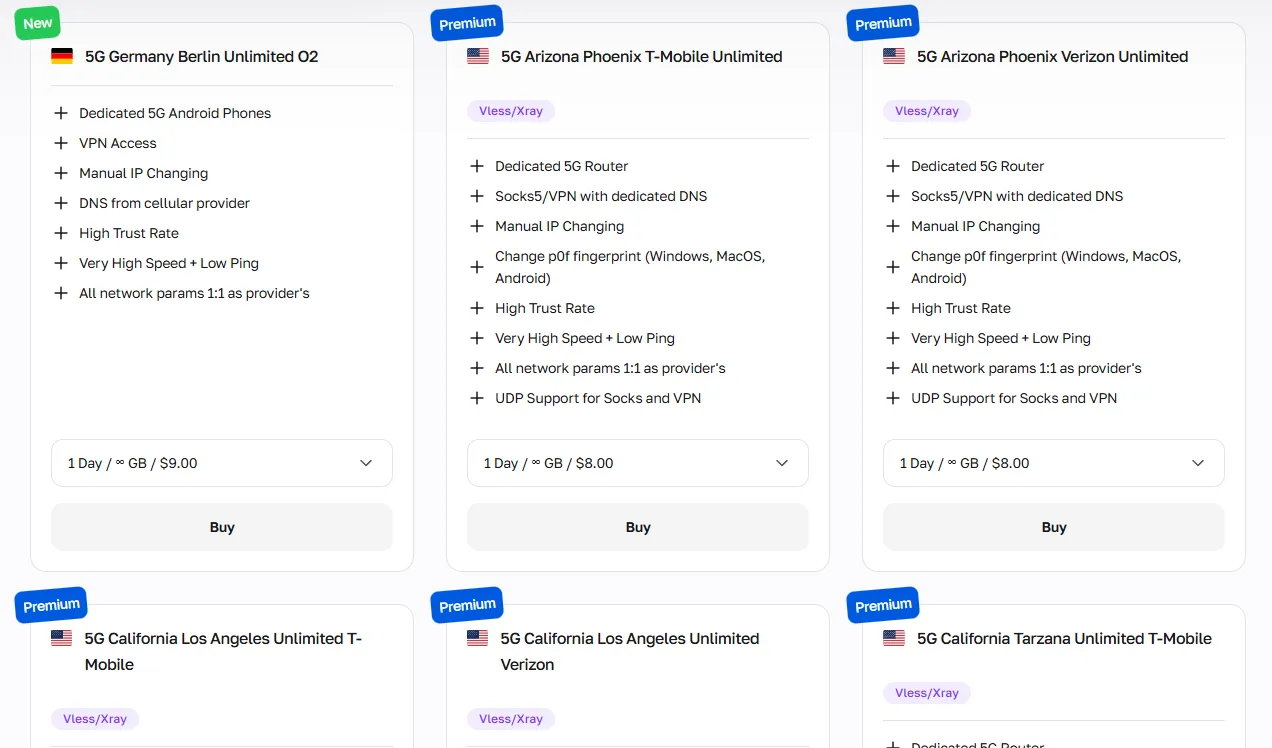
For social media management, multi-account workflows, and any platform enforcing strict behavioral analysis, mobile proxies replicate genuine carrier-grade traffic that systems recognize as real users.
Pair mobile proxies with cloud phones or antidetect browsers to achieve complete fingerprint isolation, in which each session receives a unique device signature, network identity, and IP address, eliminating cross-account linkage.
Other options: Residential and datacenter proxies
While mobile proxies offer the best solution for most Puppeteer workflows with minimal restriction risk, other proxy types serve their own use cases as a Puppeteer proxy server:
Rotating residential proxies offer the standard choice for most data collection tasks, with a large IP pool across 100+ countries. In Puppeteer, use them for bulk scraping tasks that require per-request IP rotation. Configure the -res-any suffix in your username to let the provider handle Puppeteer proxy rotation automatically.
Static residential proxies assign a single persistent IP per session, making them reliable for account-linked workflows with moderate levels of Puppeteer automation. Use them when the platform requires session continuity, such as logged-in dashboards or checkout flows.
Datacenter proxies are very fast, but platforms tend to flag their non-residential traffic patterns. In Puppeteer, use them only for API testing, performance benchmarking, and automated QA on staging environments where bot detection is minimal.
Compare residential and mobile proxies in a specialized CyberYozh article. Choose which one works best for you.
Preparing your work with Puppeteer proxies
Puppeteer launches a headless browser entity with minimal network traffic usage, and then automates processes such as opening and closing pages, mouse clicks, keyboard input, and other tasks performed during ordinary web activities.
A headless browser is a Chromium instance that processes web pages and executes JavaScript without rendering a visible GUI, significantly reducing resource load. By default, Puppeteer uses headless mode (headless: true). Pass headless: false to launch a visible browser session for debugging. Read more in the Puppeteer API docs.
Create a CyberYozh account
Sign up to CyberYozh, navigate to My Proxies, and purchase the proxy type for your task: mobile proxy for automation and social media workflows, or rotating residential for scraping.
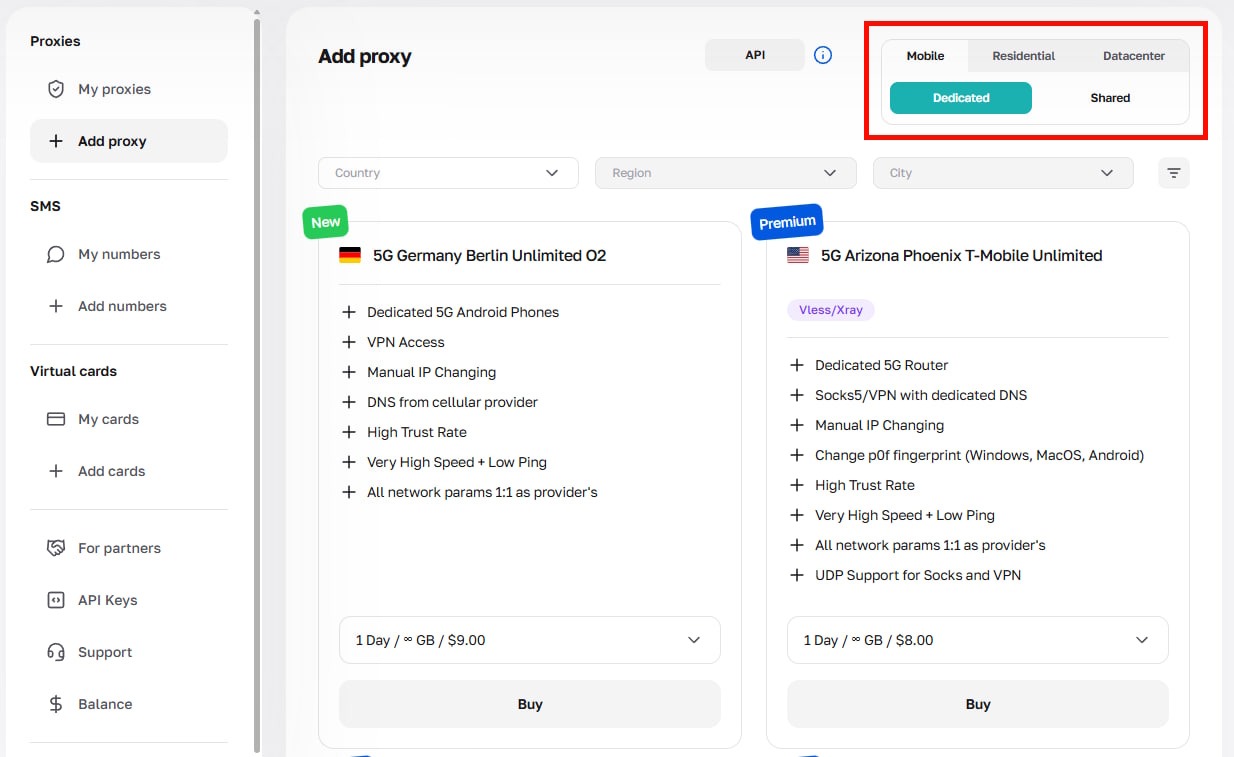
Open your proxy card, click Generate Credentials, choose your rotation mode (Random IP, Short Session, or Long Session), and save the host, port, username, and password.
Set up Puppeteer on your PC
Puppeteer requires Node.js (v18+) and a package manager (i.e., npm or yarn). Initialize your project and install the library:
# Initialize Node.js project
npm init -y

# Install Puppeteer (includes bundled Chromium)
npm install puppeteer# Alternatively, with Yarn:
yarn add puppeteerUse Puppeteer in your JavaScript code
Two package variants exist for Puppeteer proxy workflows:
puppeteer — the full package that downloads and bundles a compatible Chromium binary automatically. Use this for most standalone automation scripts.
puppeteer-core — a lightweight version with no bundled browser. Use it when you control the browser binary path yourself (e.g., a specific Chrome installation or a cloud environment). Requires you to specify executablePath explicitly.
// puppeteer (full, with bundled Chromium):
const puppeteer = require('puppeteer');

// puppeteer-core (no bundled browser):
const puppeteer = require('puppeteer-core');
// Must also pass: executablePath: '/path/to/chrome'
Launching automation workflows with CyberYozh
Now, you can proceed with your Puppeteer project. Start with your project structure, add proxy Puppeteer credentials to the environment, and then import Puppeteer to your Node.js scripts.
Use --proxy-server flag as the Chromium launch argument, which routes all browser-level network traffic through your specified proxy address and port. It is passed inside the args array of puppeteer.launch().
Create your project structure
Organize your project folder, separating credentials, scripts, configuration, and output from the start:
.env file for proxy credentials (add to .gitignore)
.gitignore to specify what won’t be shared via Git, i.e., proxy credentials
index.js for the main Puppeteer script
config/browser.js for browser launch options, in a separate folder
output/ folder for scraped data (JSON/CSV)
Assign a proxy in the .env file
Add your CyberYozh credentials as environment variables. Never hard-code them in source files to prevent credential leakage to version control.
PROXY_HOST=your_proxy_ip
PROXY_PORT=your_proxy_port
PROXY_USER=your_username
PROXY_PASS=your_password
Import and configure Puppeteer
Install dotenv to load .env variables:
npm install dotenvThen configure your Puppeteer proxy server options:
// index.js

require('dotenv').config();

const puppeteer = require('puppeteer'); // or puppeteer-core
const PROXY = `${process.env.PROXY_HOST}:${process.env.PROXY_PORT}`;
Create a Puppeteer browsing session
Define the browser entity with the Puppeteer HTTP proxy server argument, then authenticate the page. By default, the session is headless:
(async () => {
  const browser = await puppeteer.launch({
    headless: true, // false for debugging
    args: [`--proxy-server=http://${PROXY}`]
  });

  const page = await browser.newPage();

  // Authenticate with CyberYozh credentials
  await page.authenticate({
    username: process.env.PROXY_USER,
    password: process.env.PROXY_PASS
  });

 // Access the target site and show its content
  await page.goto('https://httpbin.org/ip');
  const content = await page.content();
  console.log(content);

 // Perform the automation or scraping operations using JS commands as needed

 // Close the session
  await browser.close();
})(); As noted in a top-voted Stack Overflow thread on Puppeteer proxy usage, the --proxy-server flag must be passed at browser launch: it cannot be changed per-page after launch.
Deploy your code and monitor the process
Run your automation script from the project root and verify IP rotation is working:
node index.jsFor Puppeteer proxy rotation across multiple sessions, maintain a proxy pool and reassign proxies by relaunching browser instances.
Use the CyberYozh API key with the IP Checker to automate rotation and check each incoming IP's quality before use, minimizing the risk of restrictions during bulk multi-account operations.
📚 Read more on CyberYozh
Summary: Using Puppeteer proxy efficiently
Puppeteer proxy integration with CyberYozh mobile proxies provides the most reliable foundation for web automation. It combines Node.js browser control with high-trust mobile IPs and API-driven rotation to sustain multi-account and business automation workflows at scale without triggering platform restrictions.
FAQ about Puppeteer proxies
What is a Puppeteer proxy and why do I need one?
A puppeteer proxy routes your headless browser's traffic through an external IP address, masking your origin. It prevents IP bans, enables geo-targeting, and makes automated sessions appear as organic user activity.
How do I use a proxy in Puppeteer?
Pass the --proxy-server=host:port flag inside the args array of puppeteer.launch(), then call page.authenticate({ username, password }) for private proxy servers. No additional library is required for basic setups.
What is the difference between puppeteer and puppeteer-core?
puppeteer bundles a compatible Chromium binary and is ready to use after npm install. puppeteer-core is a lightweight version with no browser included; you must supply the executablePath to an existing Chrome or Chromium installation.
Does Puppeteer support SOCKS5 proxies?
Yes. Pass --proxy-server=socks5://host:port in the args array. SOCKS5 proxies support full TCP-level tunneling, which includes non-HTTP traffic that HTTP proxies cannot relay.
How does Puppeteer proxy rotation work?
With CyberYozh rotating proxies, rotation is built into the proxy infrastructure: each new connection or session uses a fresh IP. For per-browser rotation in Puppeteer, relaunch a new browser instance with puppeteer.launch() for each proxy in your pool.
Can I set a different proxy per page in Puppeteer?
Not natively at the page level: the --proxy-server flag applies globally to the browser process. For per-session proxies, launch a separate browser instance for each proxy, or use the puppeteer-page-proxy npm module for per-page interception.
Which CyberYozh proxy type should I use for social media automation in Puppeteer?
Mobile proxies are the correct choice: they replicate real carrier-grade traffic and carry the highest trust score on platforms like Instagram, TikTok, and X. Pair with antidetect browsers for full fingerprint isolation.
How do I prevent IP leaks in Puppeteer?
Disable WebRTC to prevent it from broadcasting your real IP: pass --disable-webrtc or override RTCPeerConnection via page.evaluateOnNewDocument(). Also ensure DNS queries are routed through the proxy, not resolved locally.
How do I verify the proxy is working in Puppeteer?
Navigate to https://httpbin.org/ip or https://app.cyberyozh.com/checkers/ip-address/ within your Puppeteer session. The returned IP should match your proxy address. If it still shows your origin IP, check that page.authenticate() was called before page.goto().
What should I do if my Puppeteer automation still gets blocked?
Check that your IPs have a low fraud score using the CyberYozh IP Checker, slow down request intervals, and randomize user-agent strings and viewport sizes. For high-security platforms, combine CyberYozh mobile proxies with an antidetect browser.
Does Puppeteer work with HTTP and HTTPS proxies?
Yes. The --proxy-server flag supports both http:// and https:// schemes, and Puppeteer will tunnel HTTPS traffic through CONNECT tunneling automatically via the proxy.