
Step-by-Step Guide to Configuring an Upstream Proxy for Traffic Analysis
Fiddler Classic — is a legendary tool in the arsenal of any developer, tester, or security specialist. Its primary task is to function as a debugging proxy, intercepting and analyzing all HTTP/HTTPS traffic between your computer and the internet. But what if you need Fiddler itself to access the network through another, external proxy server?
This feature is called Upstream Proxy or Gateway, and it is essential when you need to:
- Analyze traffic from a specific GEO: Check what requests your application sends when launched from Germany or Brazil.
- Simulate user experience: See how a website works for a user in another country.
- Test network routing: Ensure the application works correctly when traffic passes through specific corporate gateways and settings.
- Ensure privacy and security during request debugging and analysis.
In this guide, we will show you step-by-step how to configure Fiddler to work through an external proxy server.
Step-by-Step External Proxy Configuration in Fiddler
The process is straightforward but requires attention to detail. Fiddler will act as a local proxy for your system, and it, in turn, will route traffic through the external proxy you specify.
Step 1: Collect Proxy Credentials
The first and most important step is to ensure you have a full set of authorization data. These «keys» will allow your application or browser to connect to the proxy server and route traffic through it.
Be sure to prepare the following data:
- IP Address (host server)
- Port for connection
- Login and password for authorization
- Protocol type (HTTP or SOCKS5)
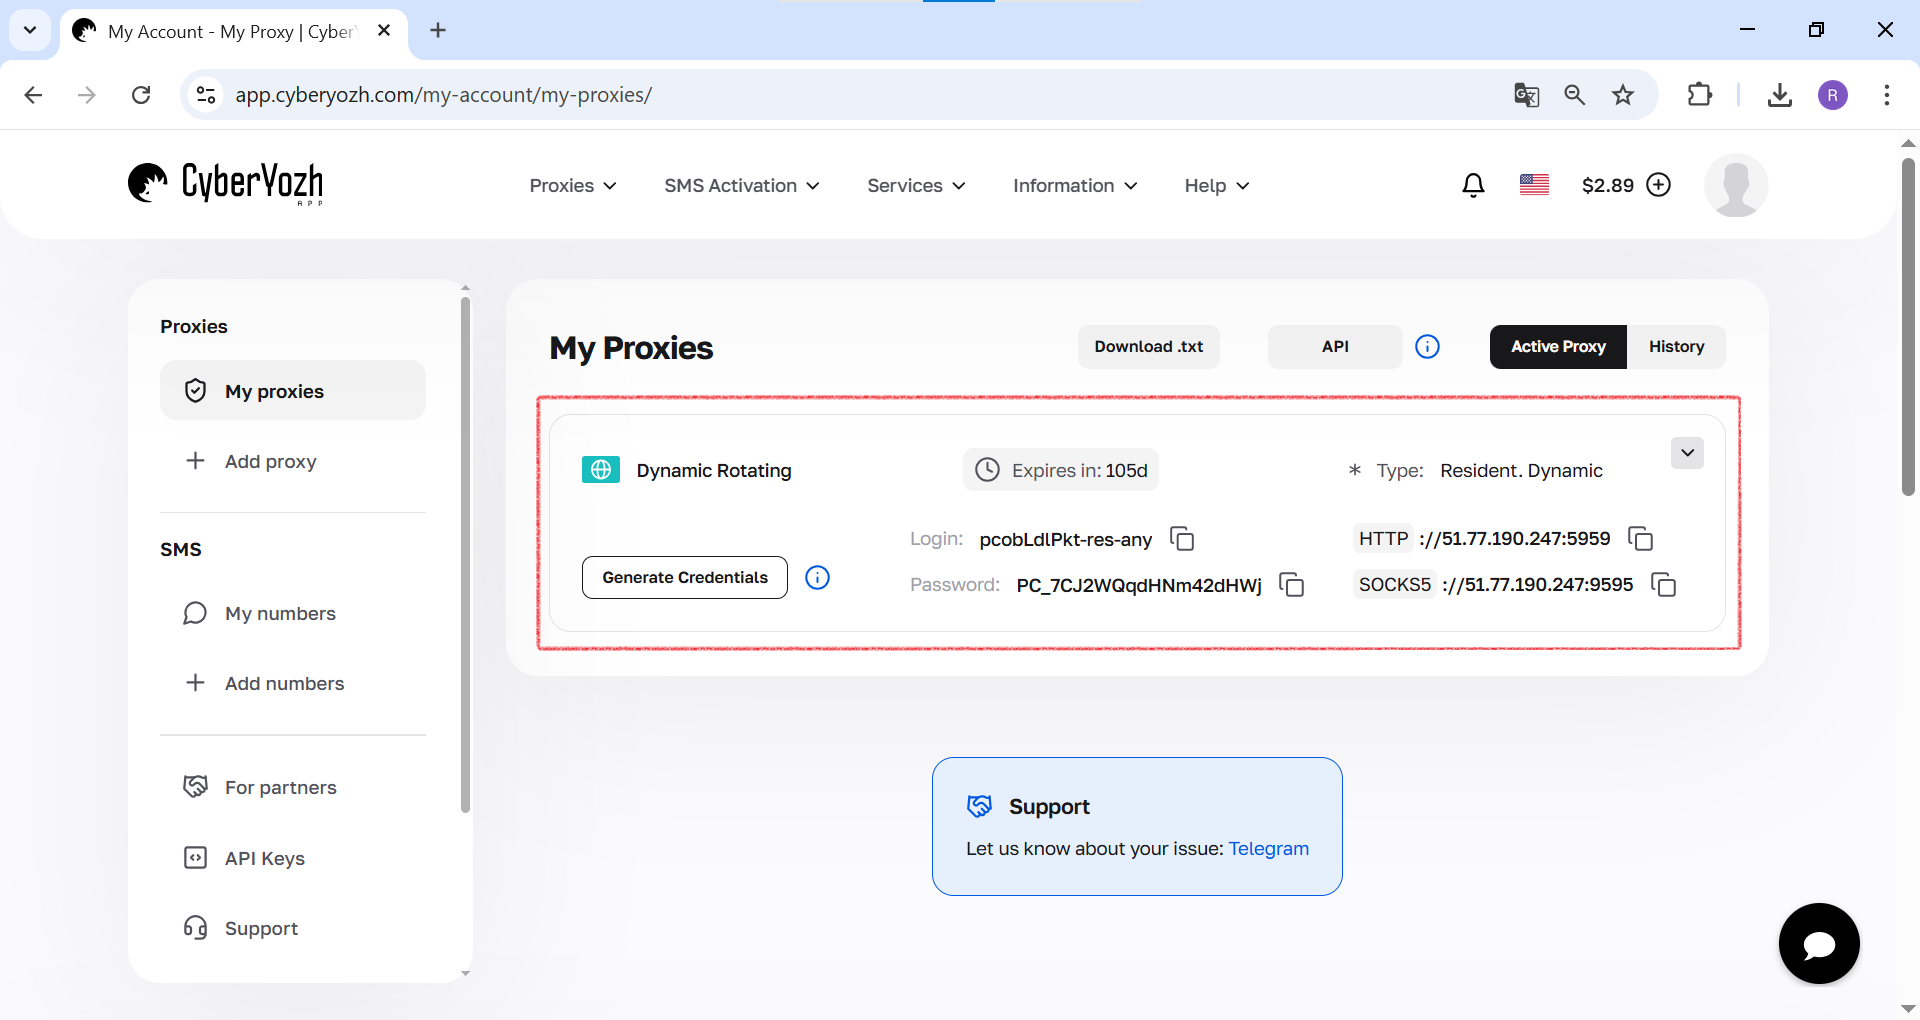 Fig. 1. This screenshot shows where all the necessary fields for connecting to a proxy server are located in the CyberYozh Appdashboard.
Step 2: Open Fiddler Options
- Launch Fiddler Classic.
- In the top menu, go to «Tools» -> «Options...».
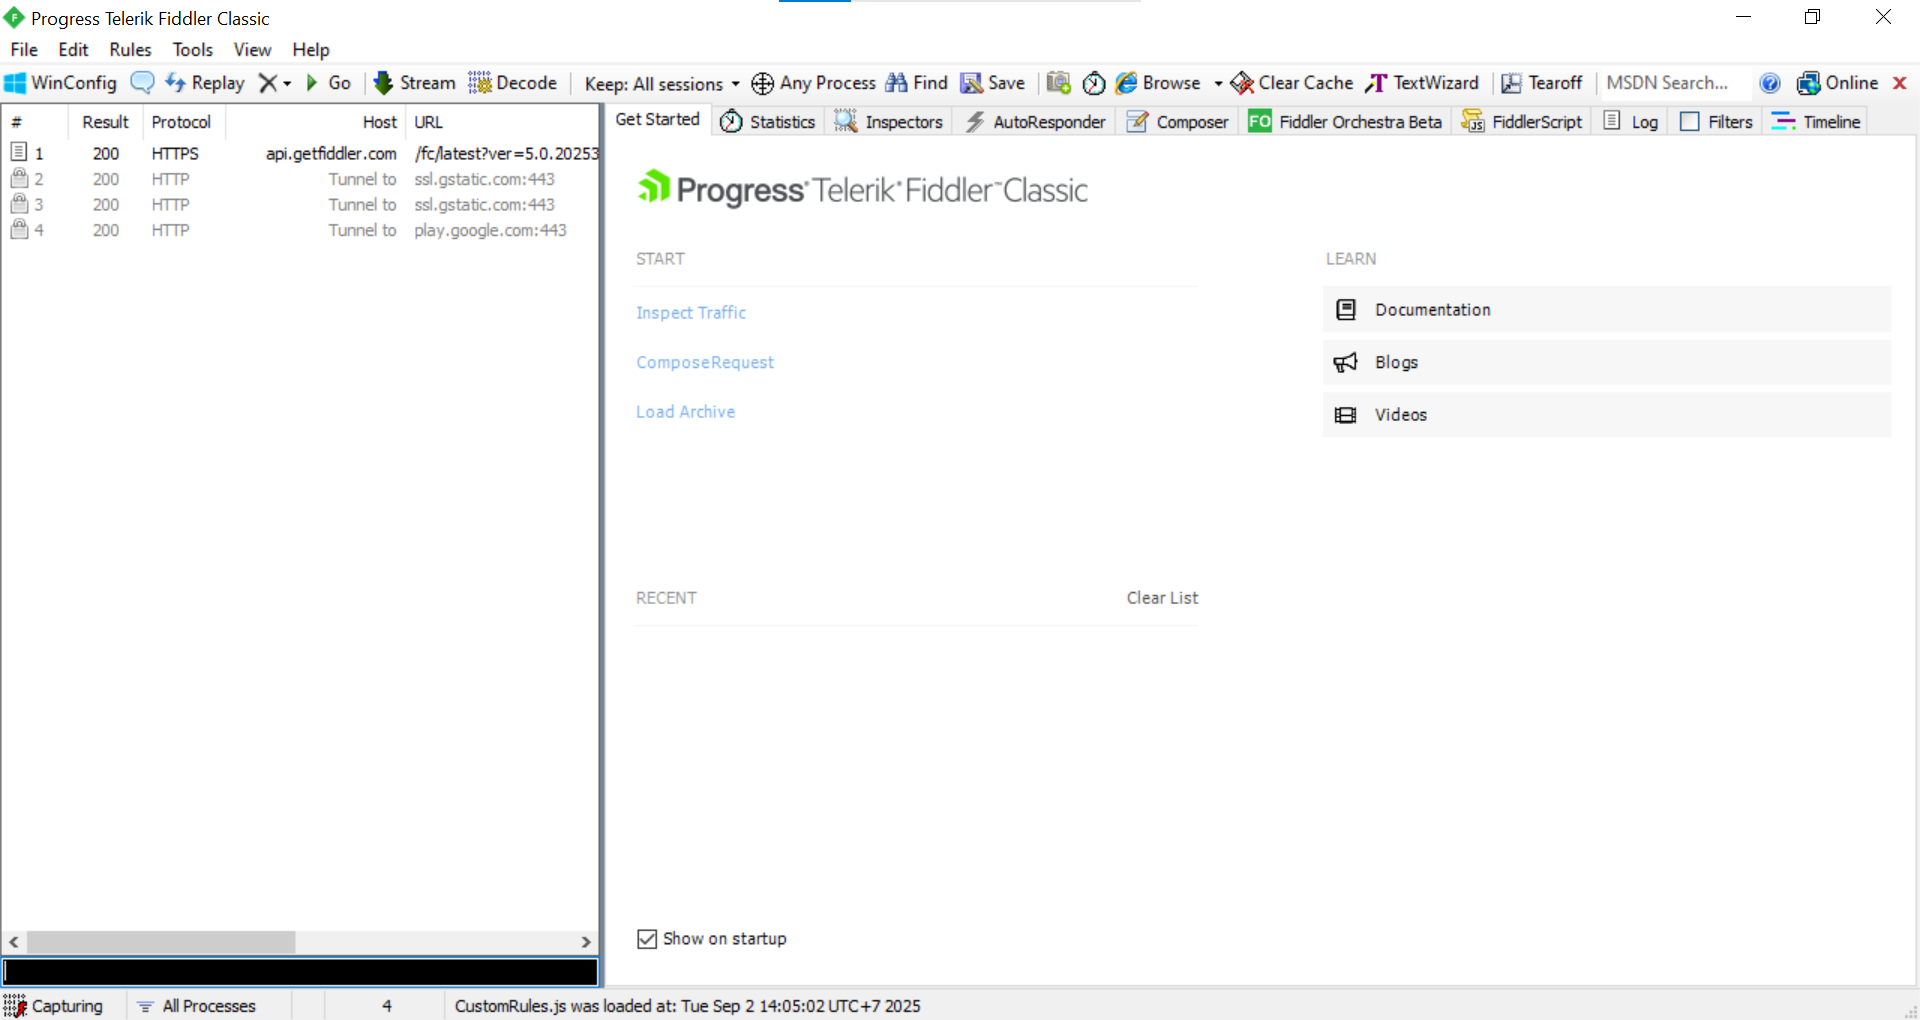 Fig. 2. This screenshot shows the main workspace of Fiddler Classic before configuration begins.
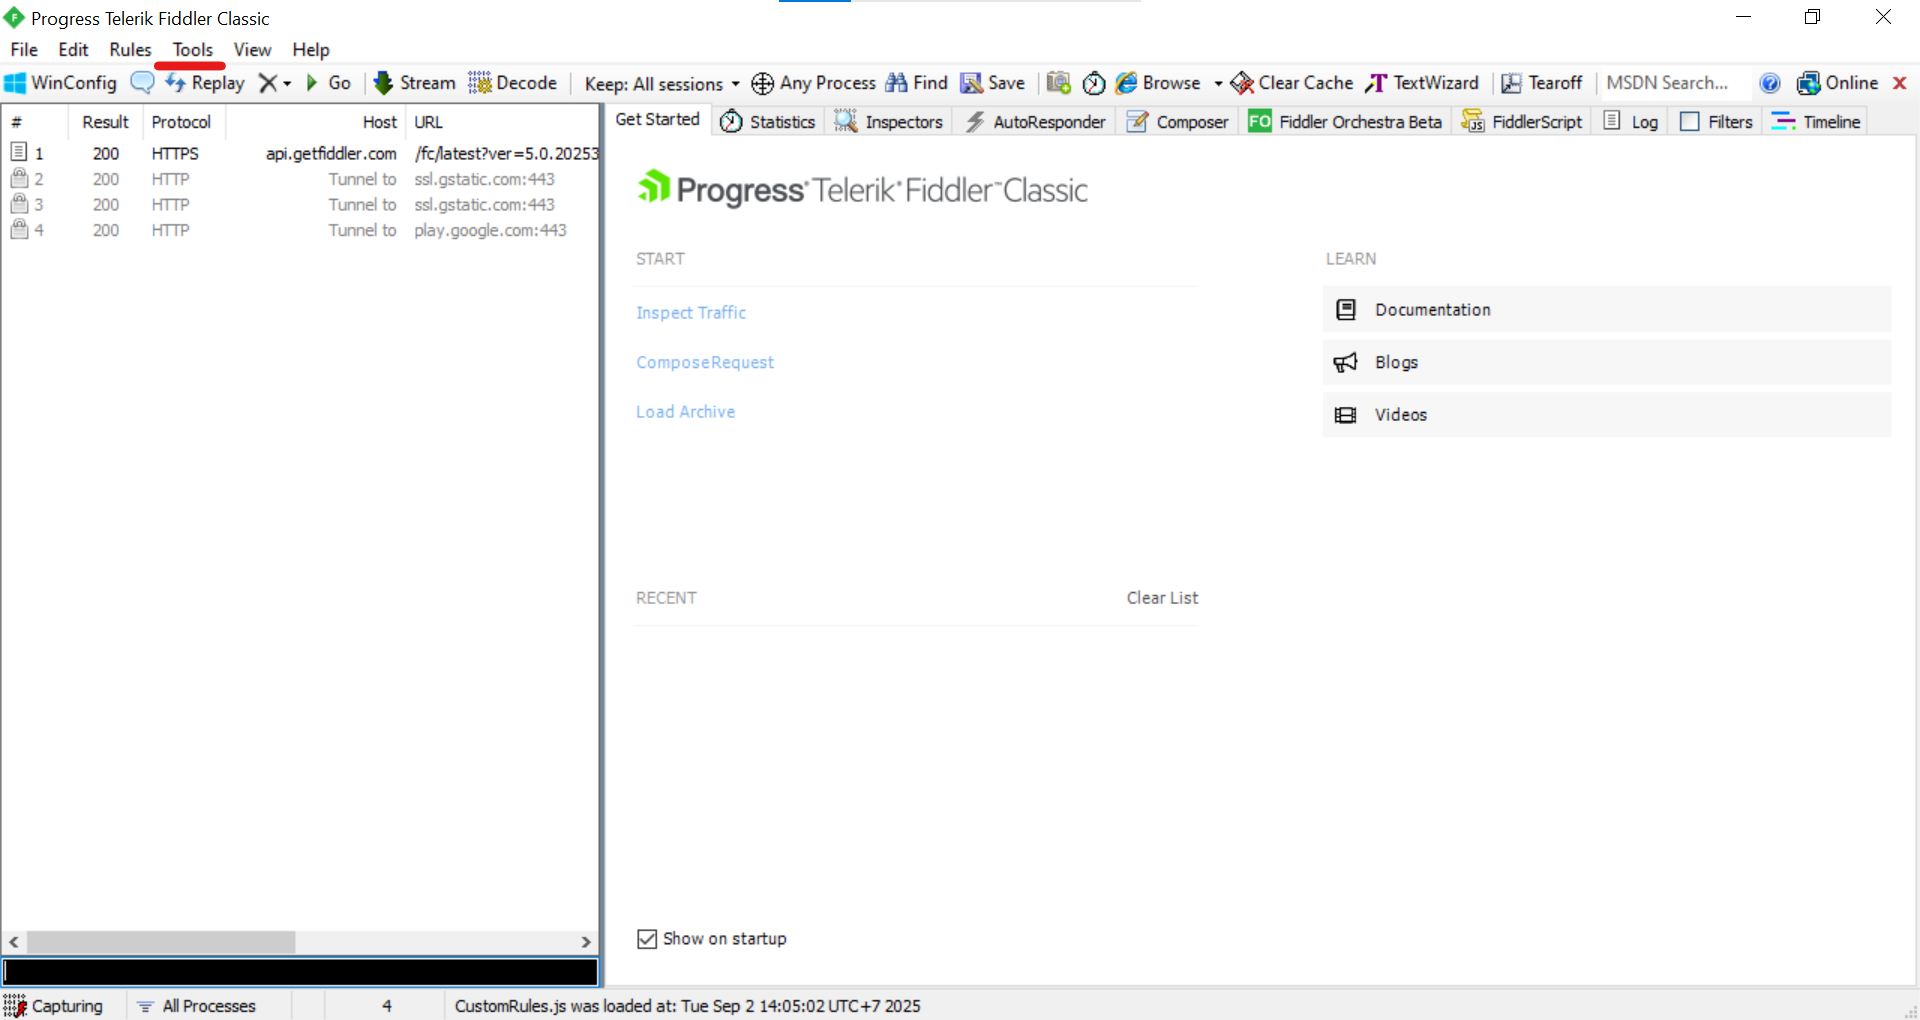 Fig. 3. This screenshot shows the first setup step, where you need to select the «Tools» section in the top menu.
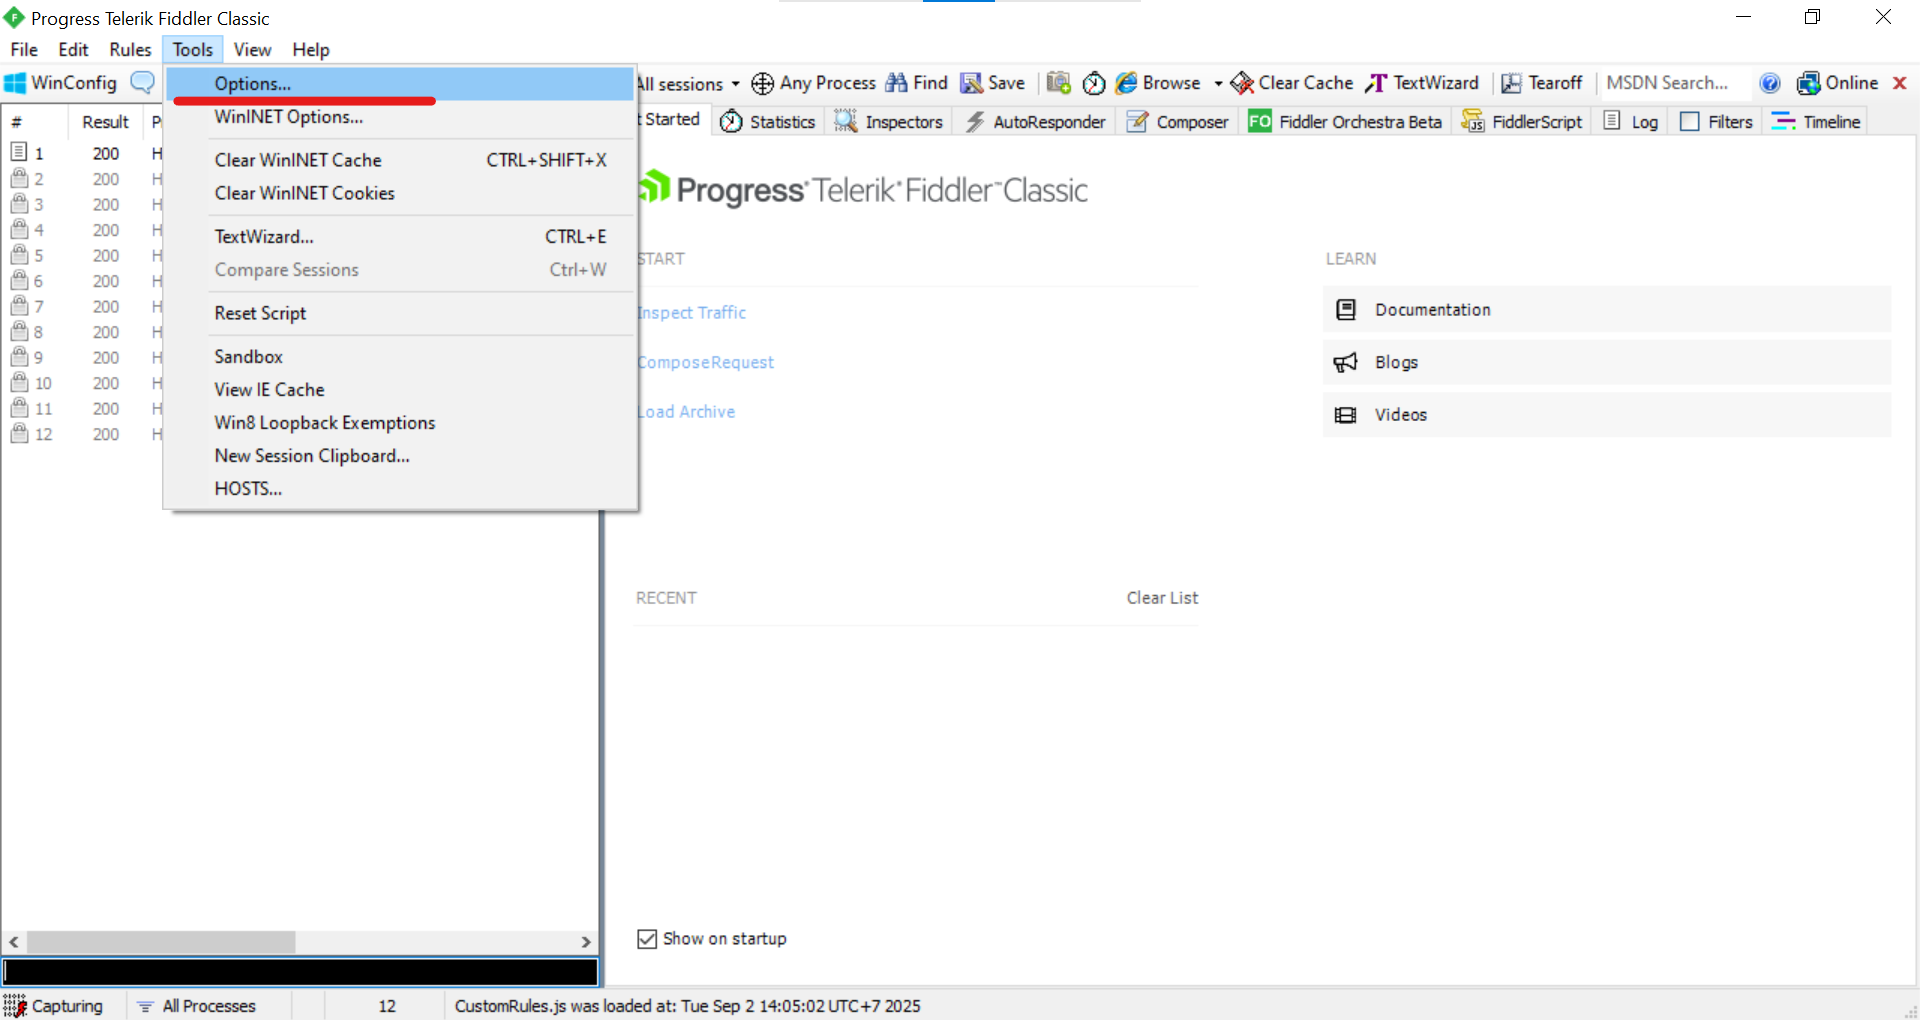 Fig. 4. This screenshot shows the «Tools» dropdown menu, where you should select «Options...» to access settings.
Step 3: Navigate to Gateway Settings
- In the «Options» window that opens, go to the «Gateway» tab. This is where the external proxy gateway is configured.
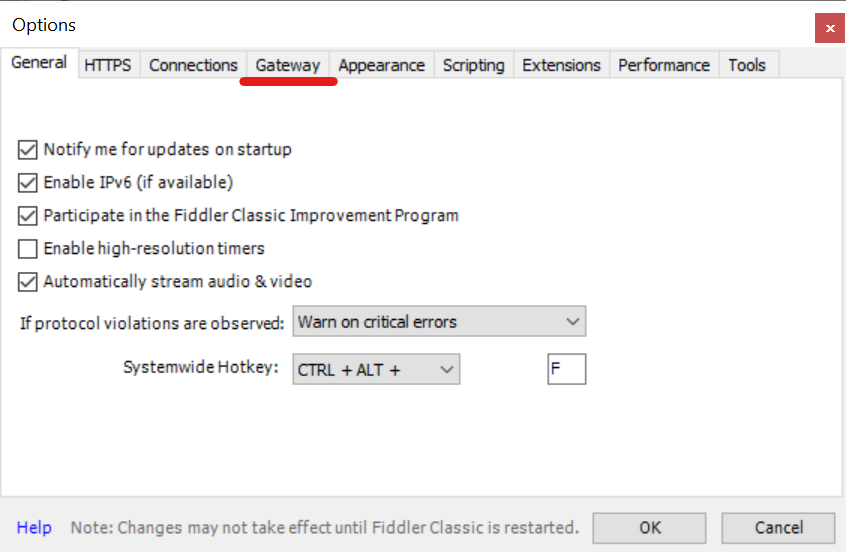 Fig. 5. This screenshot shows the «Options» window, where you must navigate to the «Gateway» tab to configure an external proxy.
Step 4: Manual Proxy Configuration
- On the «Gateway» tab, select the «Manual Proxy Configuration» option.
- A «Proxy string» field will appear. Fiddler supports complex rules, but a simple format is sufficient for most tasks.
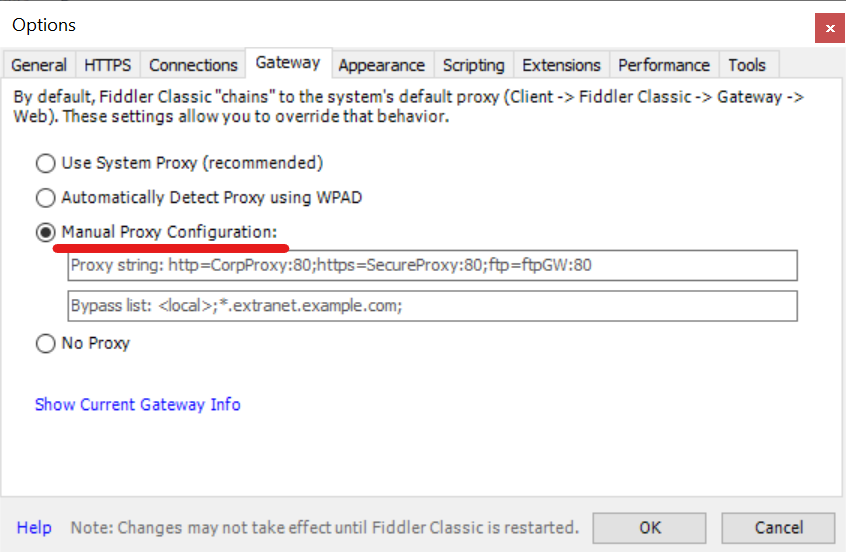 Fig. 6. This screenshot shows the «Gateway» tab with «Manual Proxy Configuration» enabled for manual data entry.
Step 5: Enter Address and Save
- In the «Proxy string» field, enter your proxy server address in
IP:PORTformat. - Click «OK» to save the settings. Fiddler may require a restart to apply the changes.
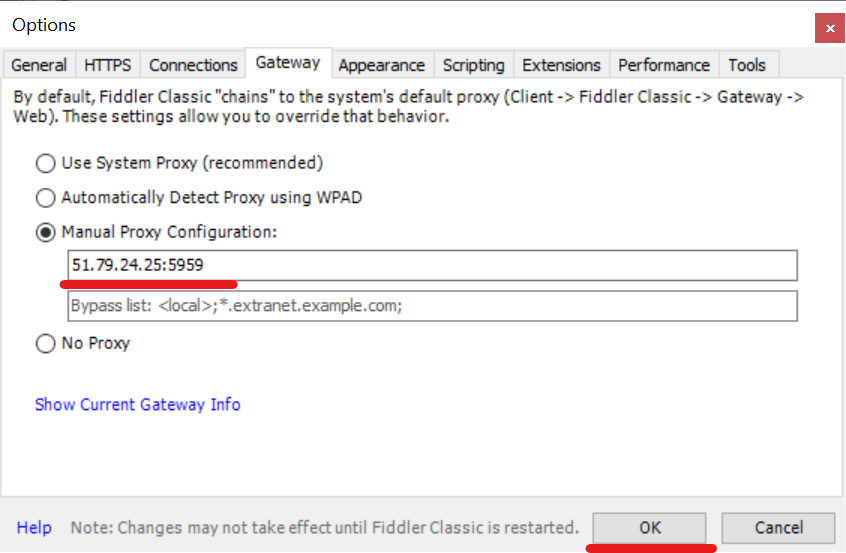 Fig. 7. This screenshot shows the final setup stage in Fiddler: the proxy IP and port are entered into the «Proxy string» field, after which you must click «OK».
Step 6: Authorization in the Browser
Now for the most interesting part. Fiddler has started redirecting traffic through the proxy you specified.
- Open any browser (it should be configured to use system proxies, which is the default behavior).
- When attempting to visit any website, the browser will display an authorization window.
- Important: It is Fiddler requesting the username and password for your external proxy server to pass them along. Enter your credentials.
 Fig. 8. This screenshot shows the system authorization window appearing in the browser. At this stage, the username and password fields are still empty.
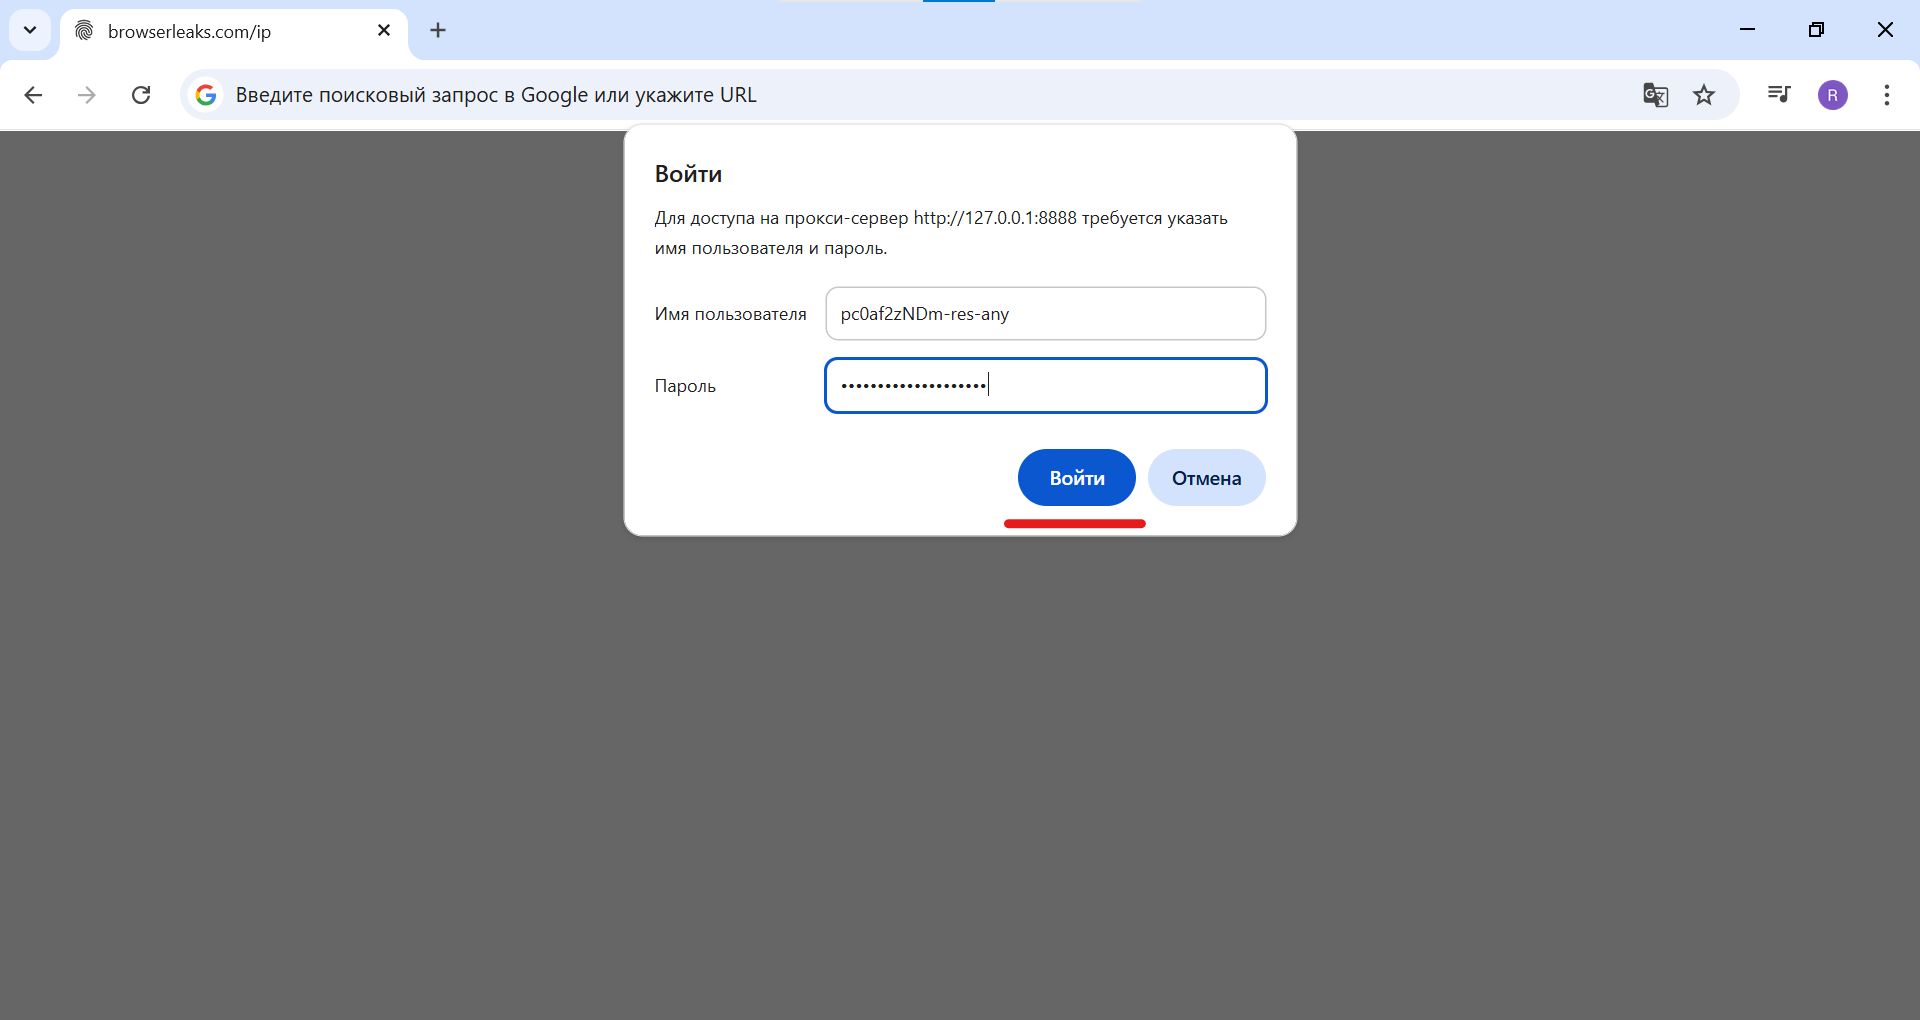 Fig. 9. This screenshot shows the process of entering the credentials (username and password) for the external proxy server in the authorization window.
Step 7: Verify the Result
- After successful authorization, the page will load.
- Go to any IP check website (e.g.,
browserleaks.com/ip). - Verify that the displayed IP address and geolocation match your external proxy data. If you are using rotating residential proxies, the IP address may change, but the geolocation should remain the same.
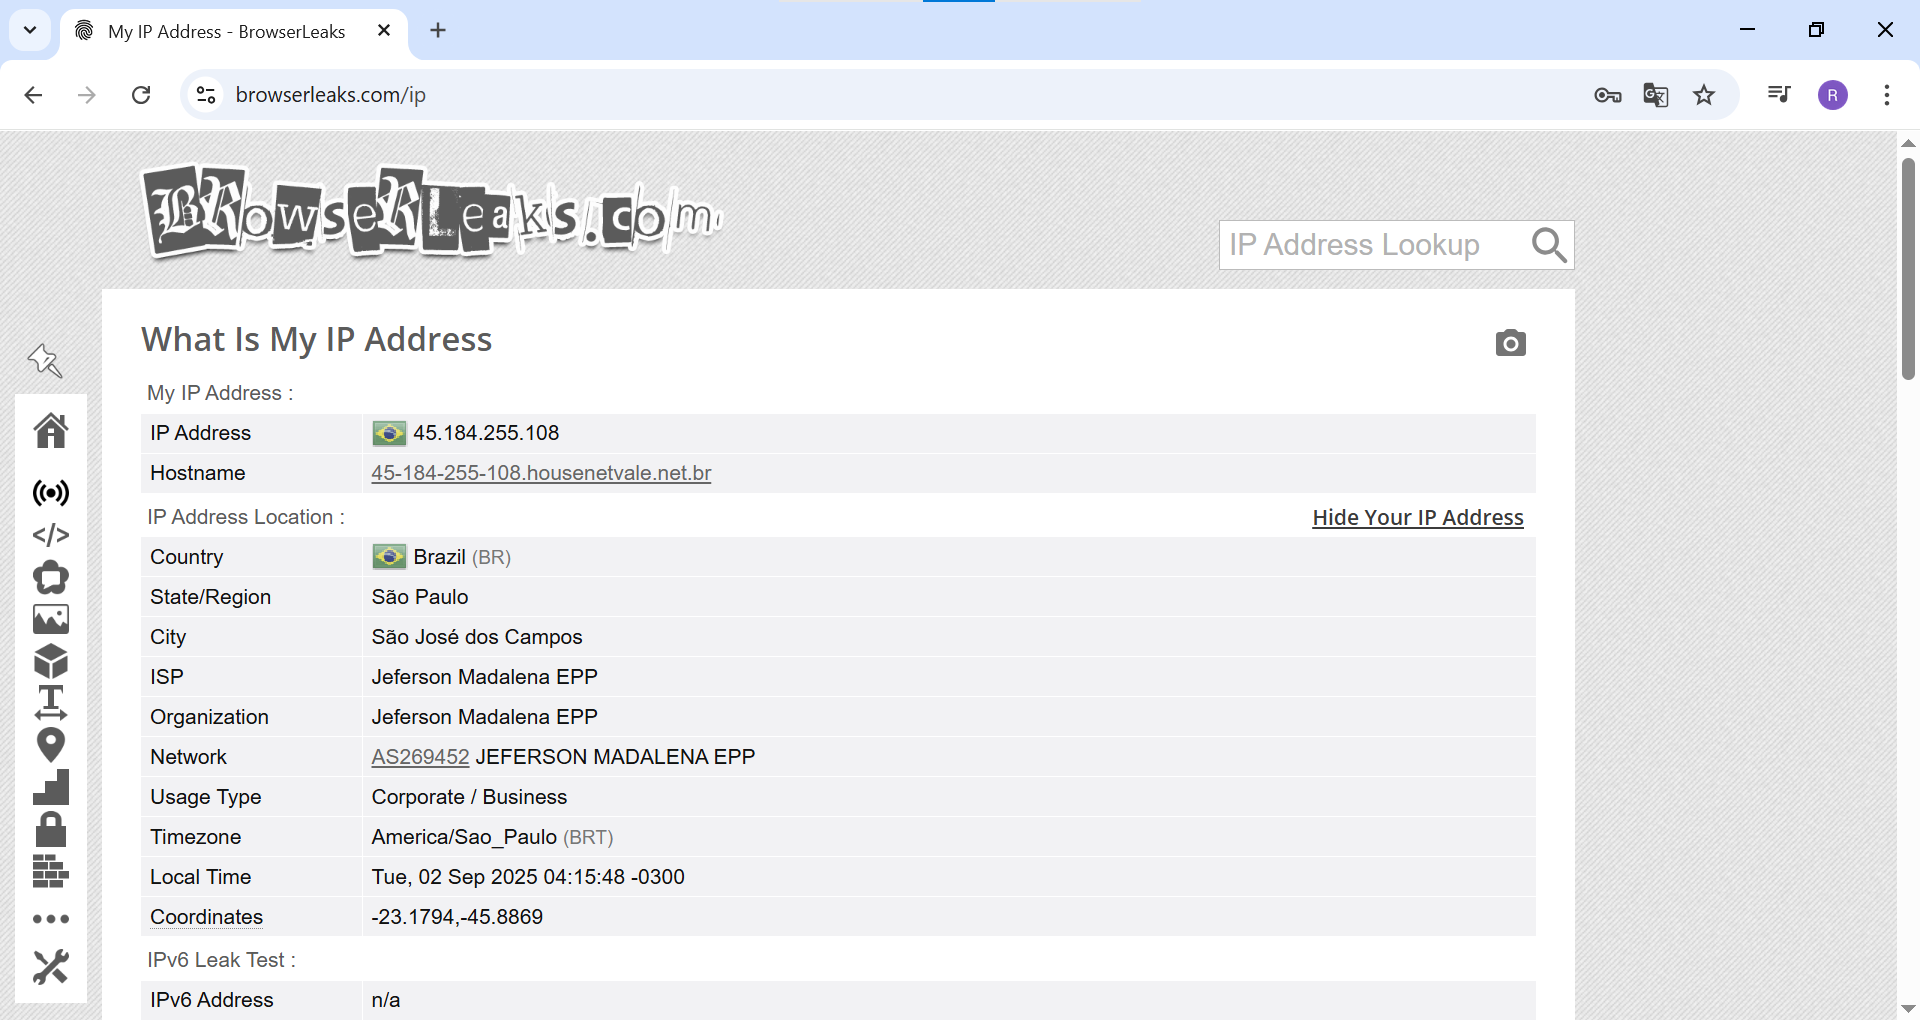 Fig. 10. This screenshot shows the final result. The browserleaks.com website confirms that the browser is working through the external proxy by displaying its IP address and geolocation.
Done! Now all the traffic intercepted by Fiddler will pass through the specified proxy server, allowing you to analyze requests as if you were located in a different part of the world.
😎 Pro Tip: HTTPS Traffic
Remember that for full analysis of HTTPS traffic, Fiddler must decrypt it. To do this, in the settings («Tools» -> «Options...» -> «HTTPS»), you must activate the «Decrypt HTTPS traffic» option and install the Fiddler root certificate as trusted.
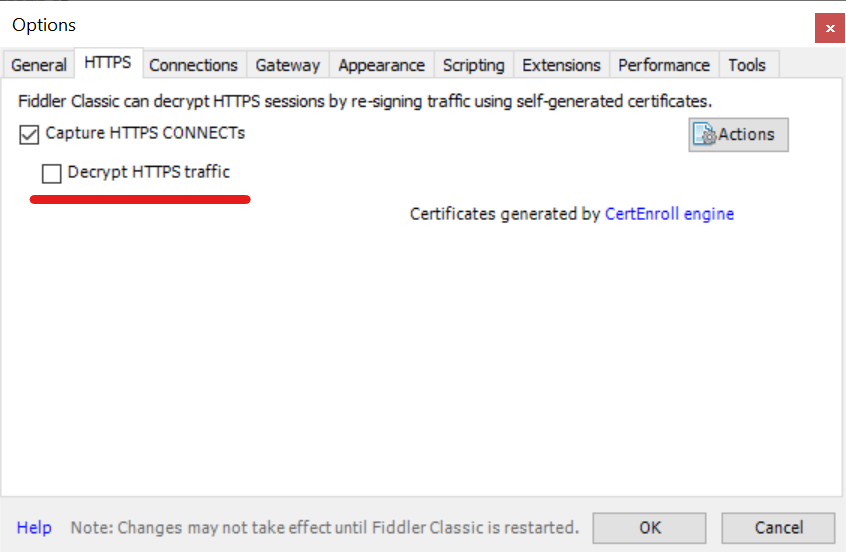 Fig. 11. This screenshot shows the Fiddler options window, «HTTPS» tab, where the «Decrypt HTTPS traffic» option must be enabled to decrypt secure traffic.
Conclusion
Configuring an Upstream Proxy turns Fiddler from a powerful debugger into a versatile tool for geo-dependent testing and analysis. This feature is indispensable for anyone working on international projects who wants to understand how their applications behave in different network conditions.
👉 Need reliable proxies for Fiddler? Our residential and mobile proxies are perfect for debugging and testing tasks, providing high-reliability IP addresses from anywhere in the world and a stable connection.
